Back in October I designed and built a couch. Here are some pictures of the design and build, which was in total around 80 hours.

Here’s the clearest progression of my designs as I traced a couple of existing couches, combined them, and shifted them into something resembling a more formal set of schematics.

I also mocked up a couple of variations on the same design. Degrees are measured back from the vertical.
Using Figma I was able to test out some of the best ways to cut the wood that allows me to be efficient with the (quite expensive!) maple. It may be more professional to do something like this in a CAD program, but Figma is the next best thing.

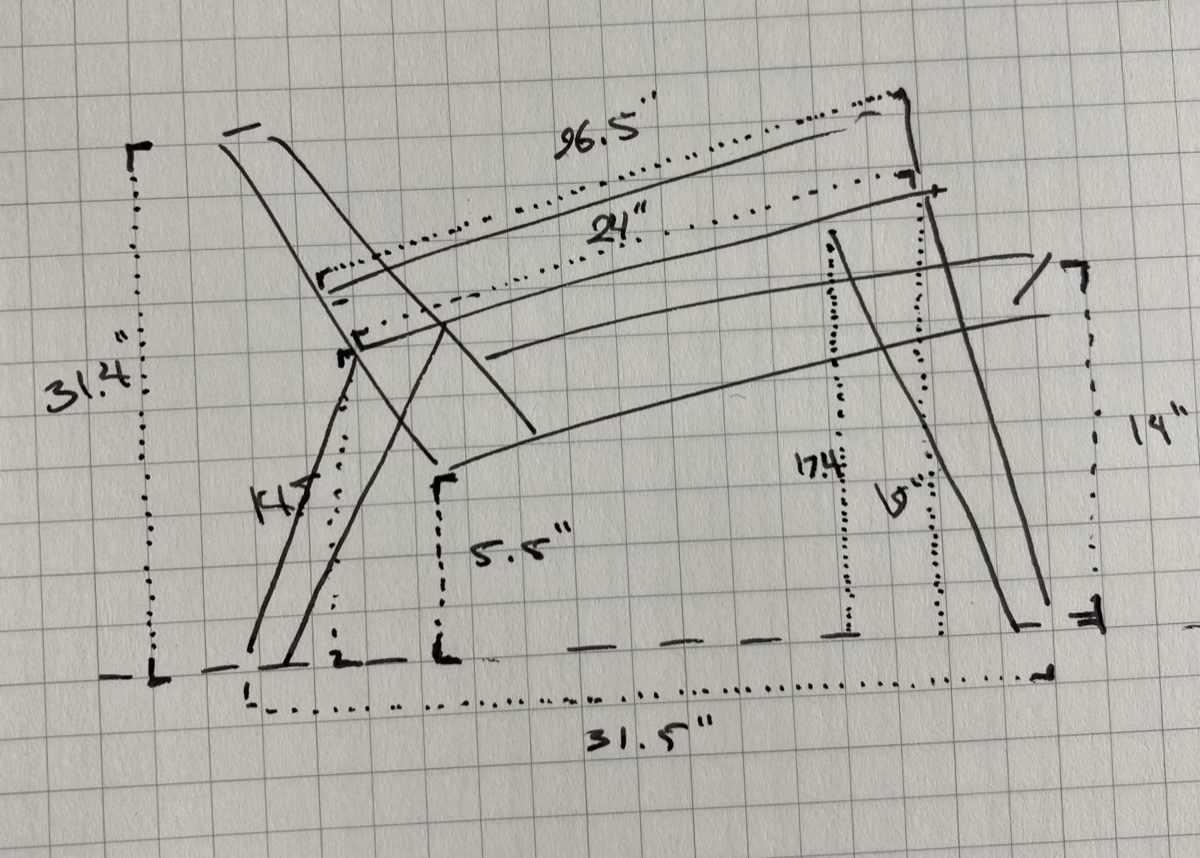
Here’s the final design I landed on, with marks for screws and dimension guides, so I can print it out and mark it.
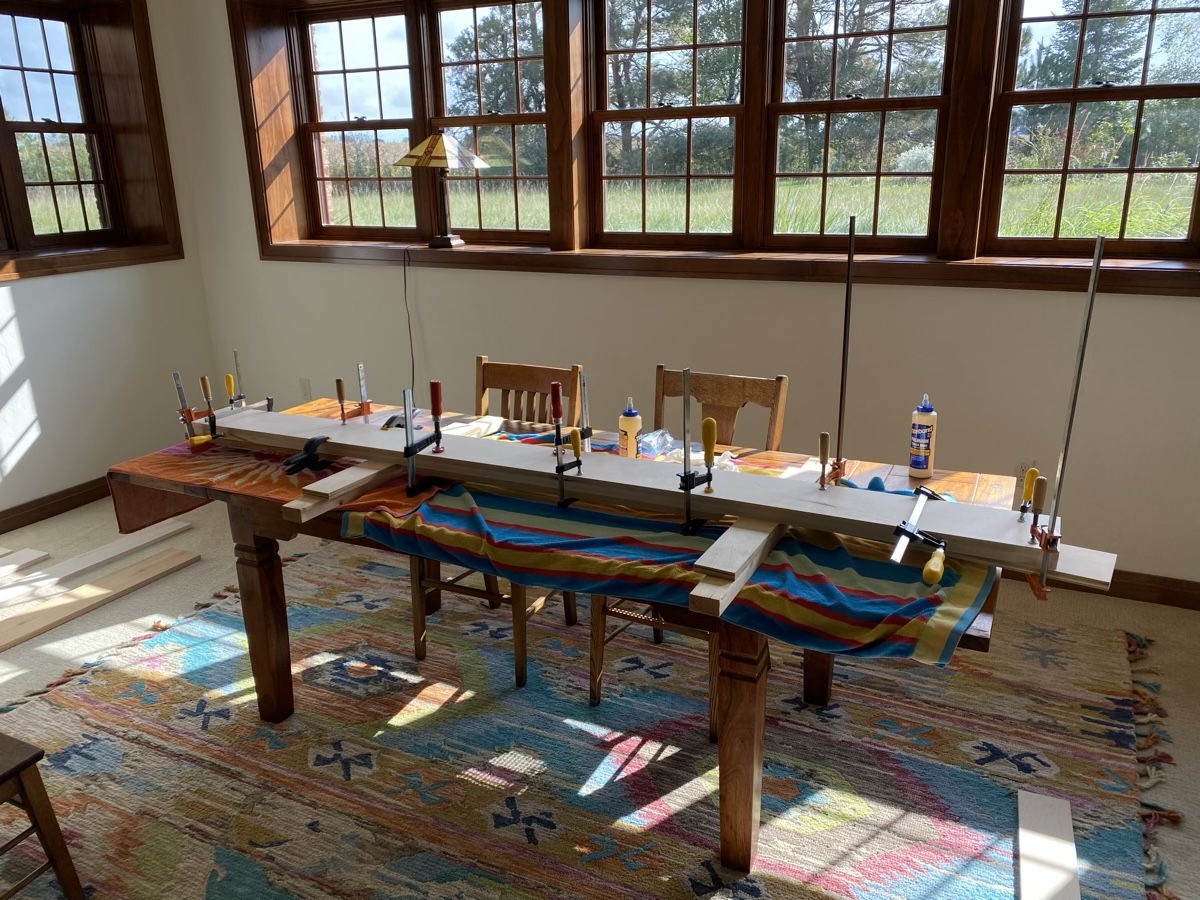
Started by laminating the 1x8s together. This is a little more expensive than just buying the raw lumber, and planing it to be 2.25", but this way I end up with a stronger piece of wood, and you get more of a mission look when the grains are layered together.
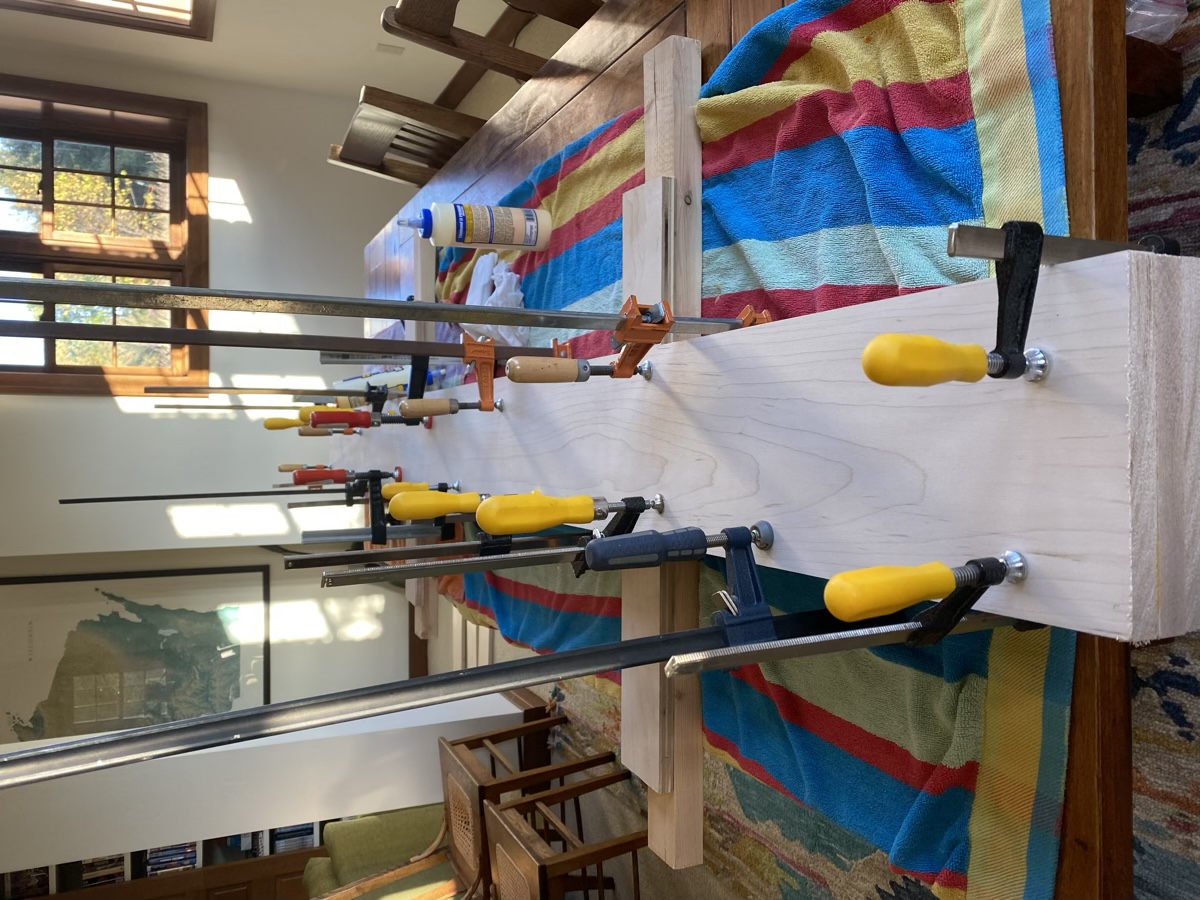
Takes a lot of clamps to get it right.
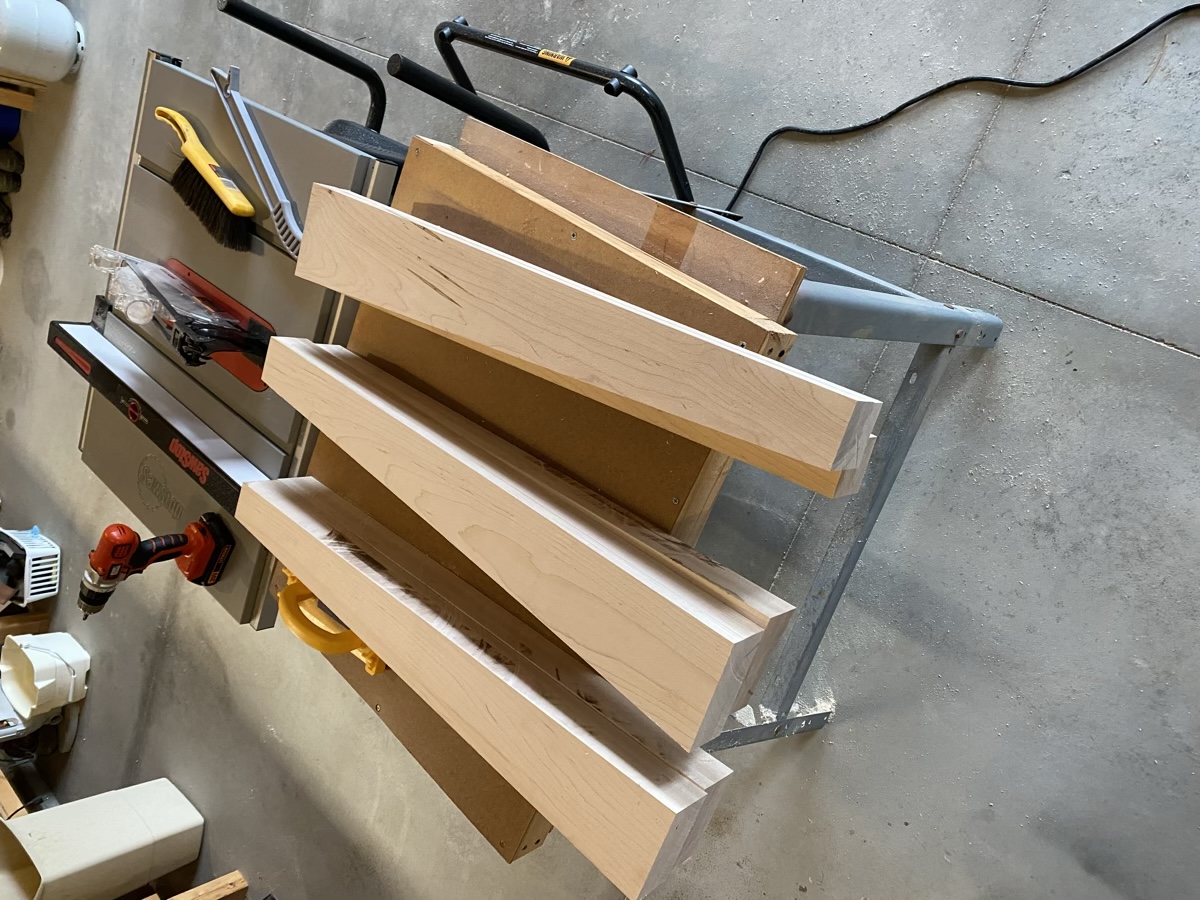
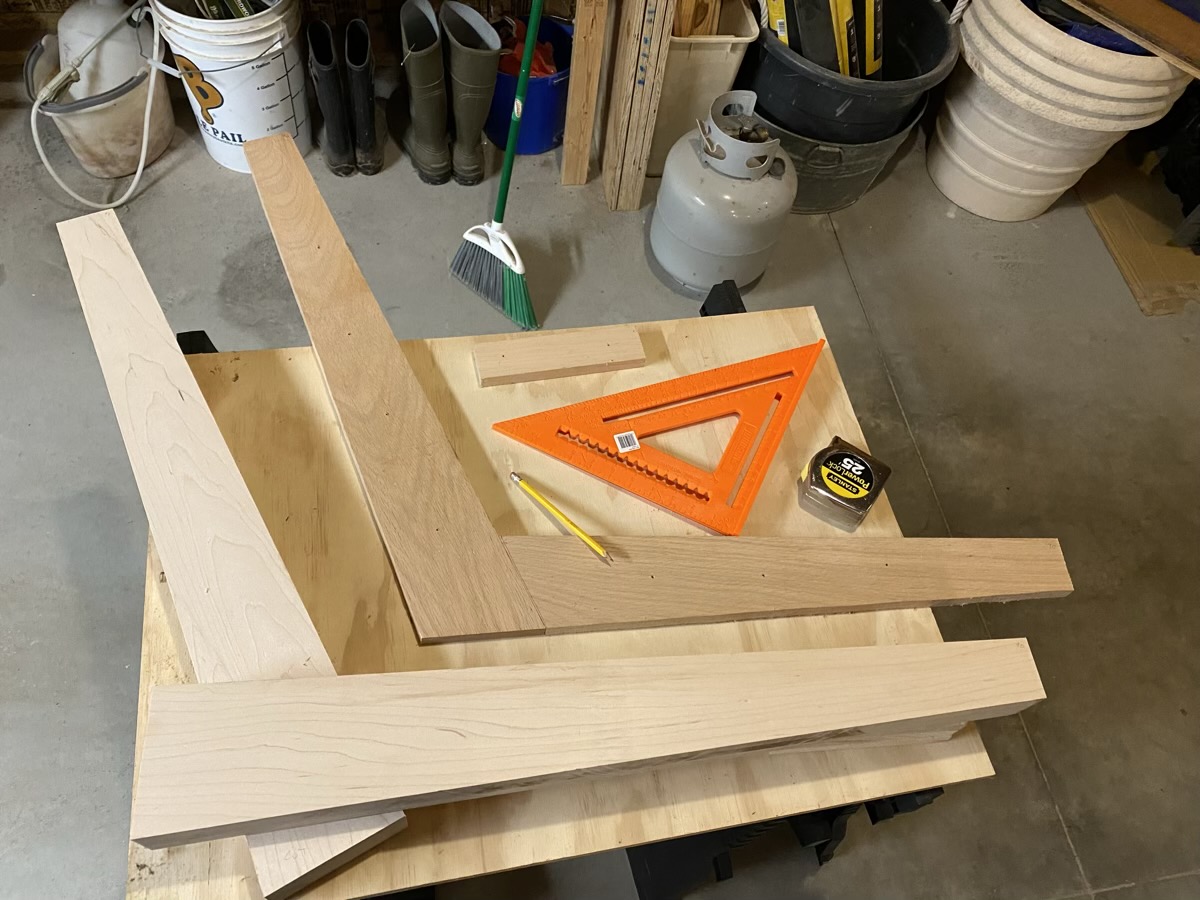
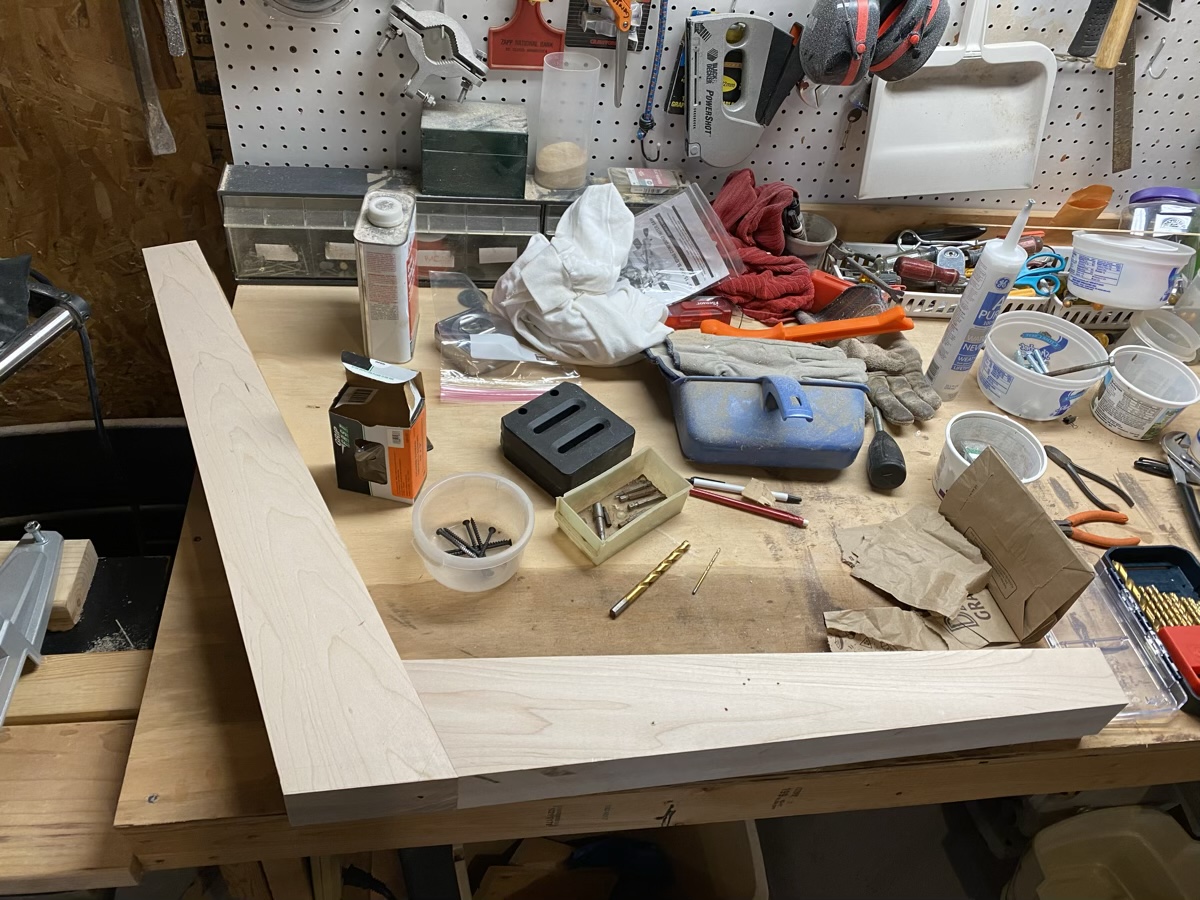
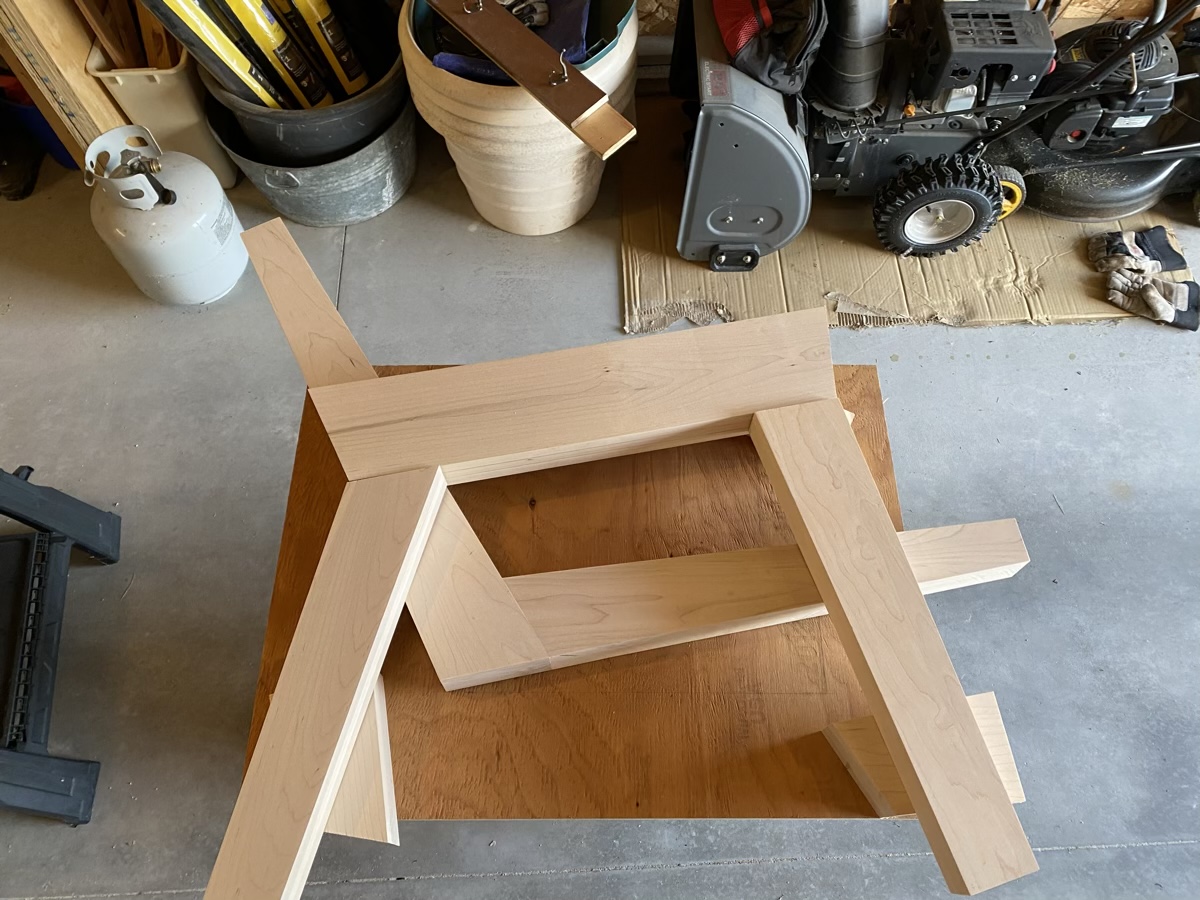
By cutting 30" pieces, and cutting them again diagonally I end up with the basic building blocks for our back and bottom L-pieces.
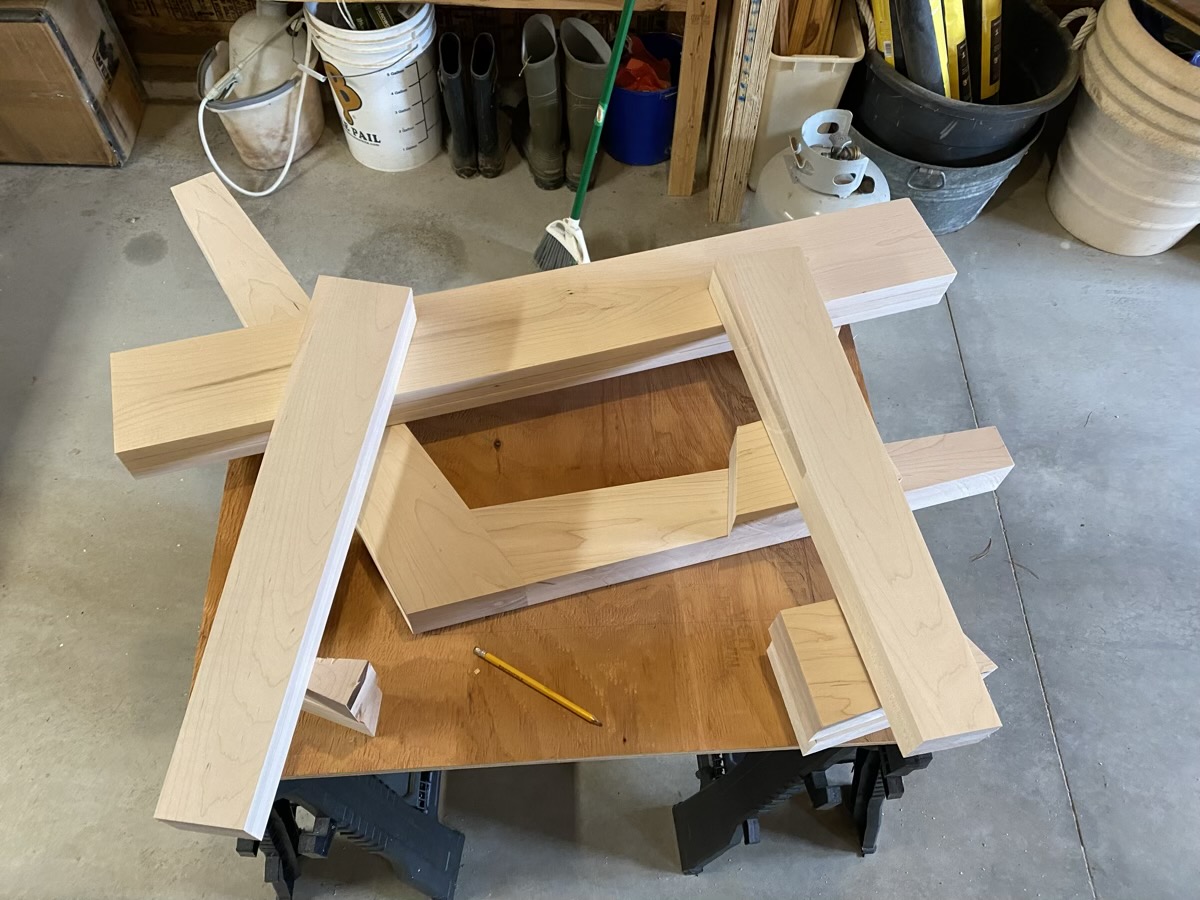
If I was doing more of these, or a chair/love-seat/sofa set, I might diagram this out more exactly on butcher paper, but it’s really not hard to write down the measurements, and then just shift them around until they line up. Once I have one side done I can use it to align the second side. It’s more important that they match each other than they match the exact design. A degree off on the back or bottom will still be pretty comfortable.
Cut a guide out of some scrap wood.
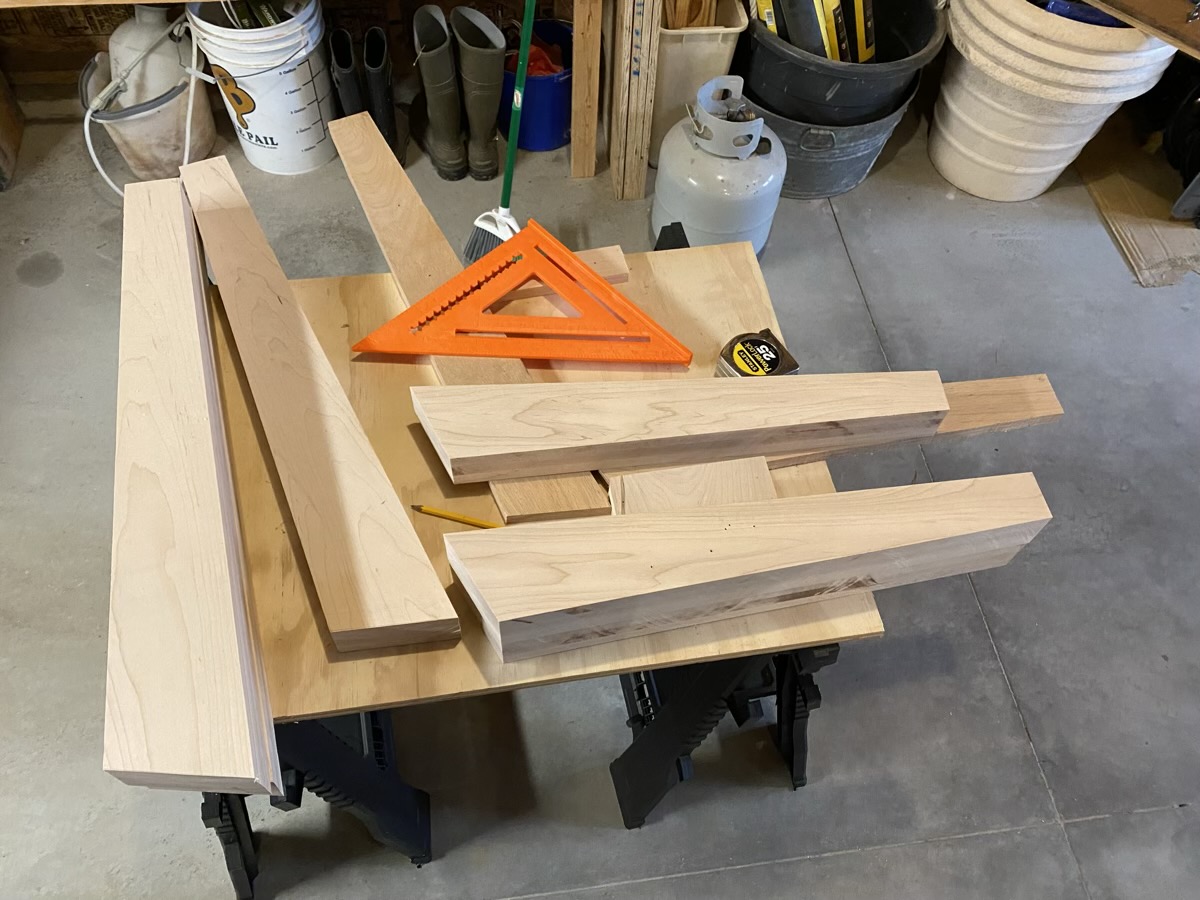
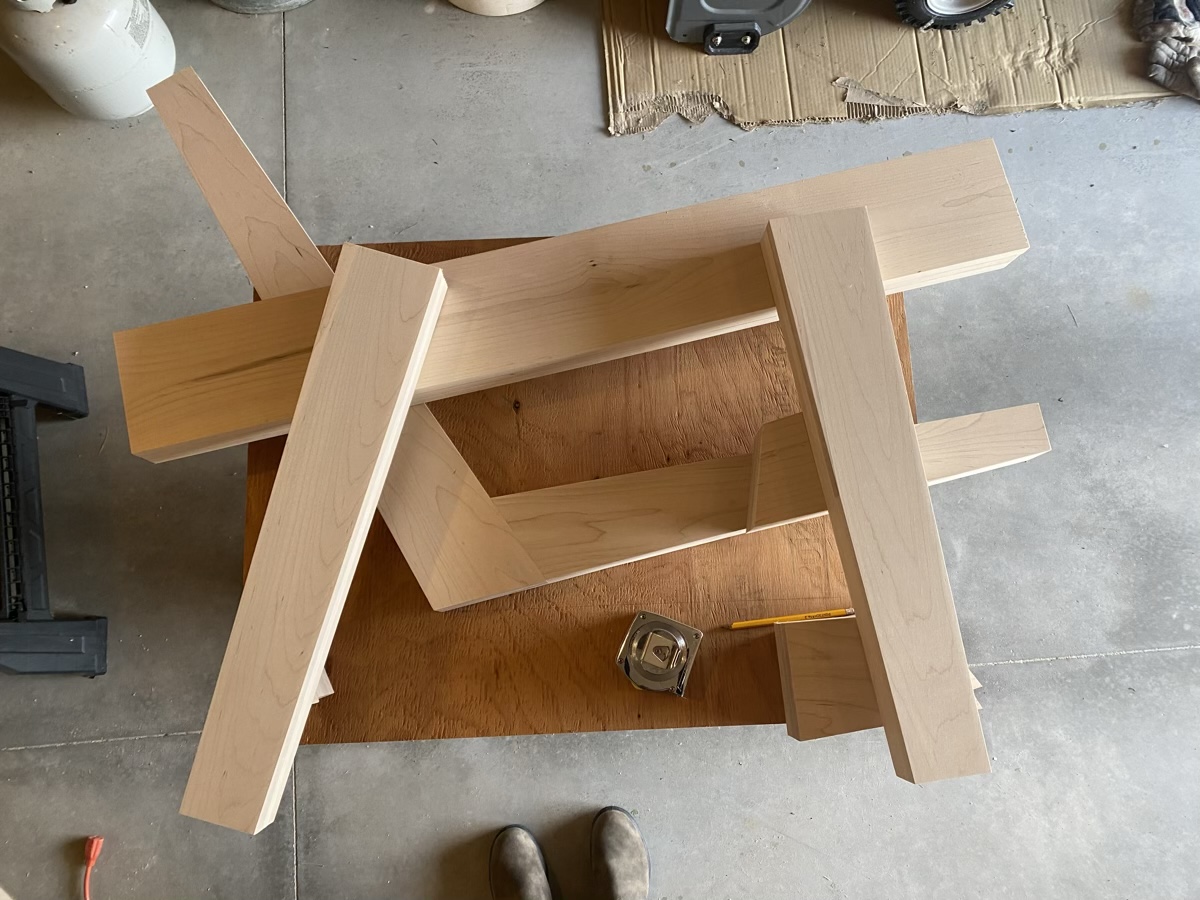
Back and bottom are cut for both sides. Just need to glue them.
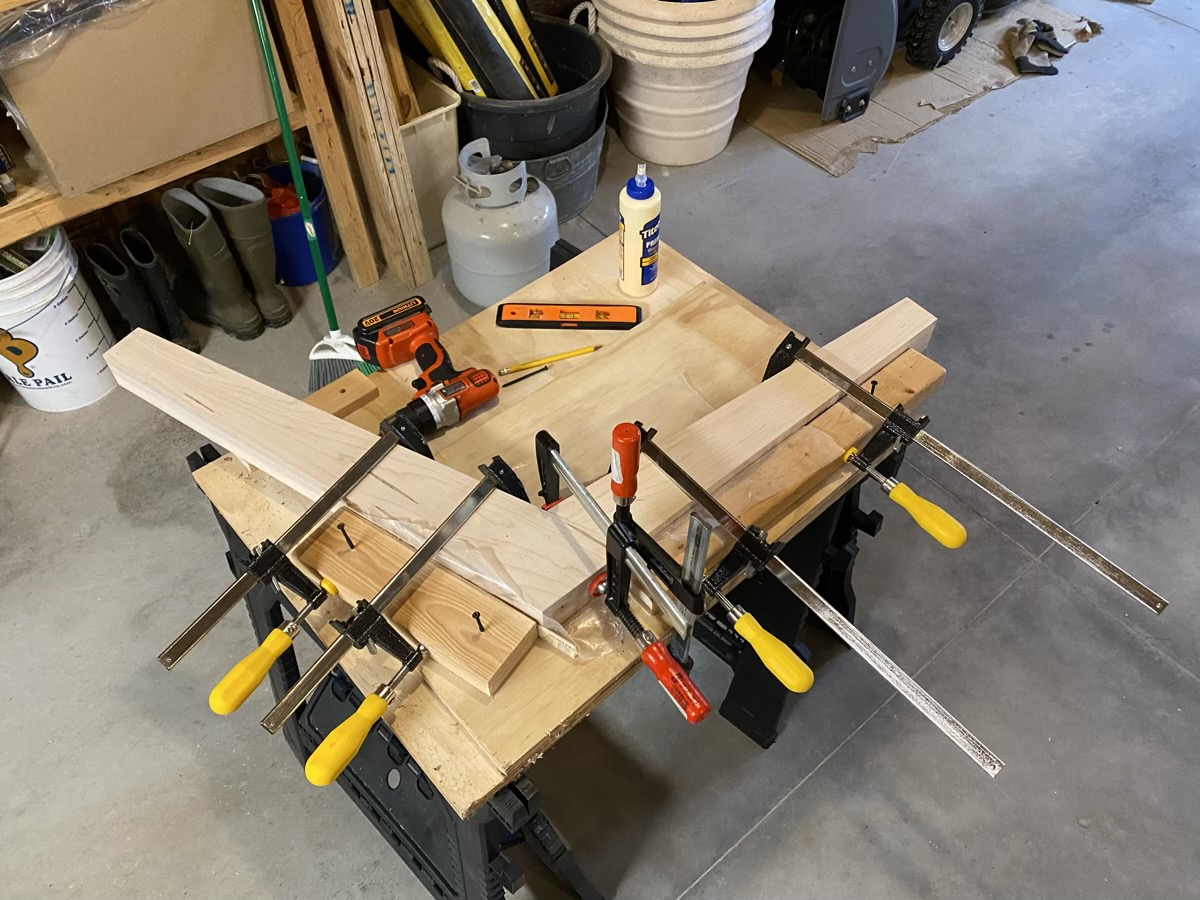
Used a plywood base to anchor a guide with 2x4s. Gives me something to clamp to, and a dead-certain template for the second side.
One side glued.
And both sides are now glued.
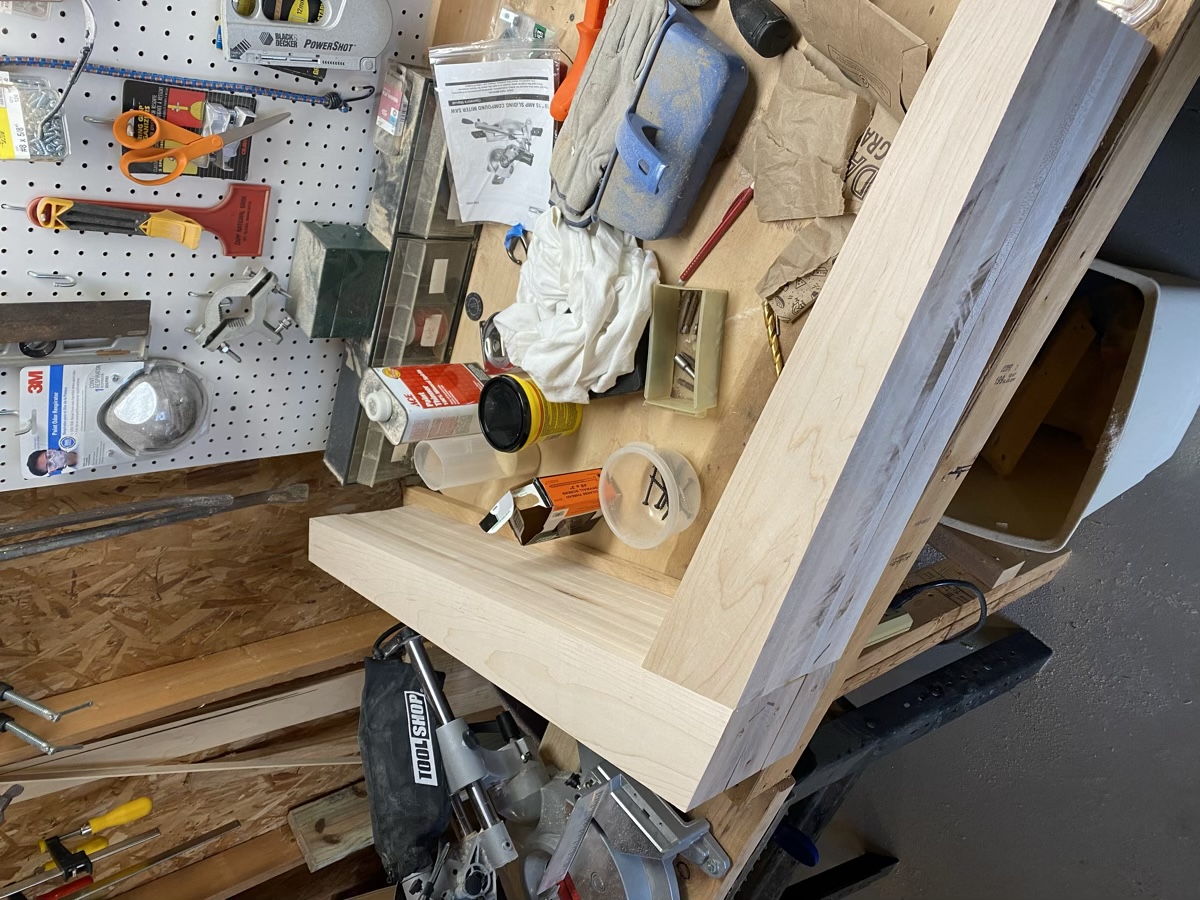
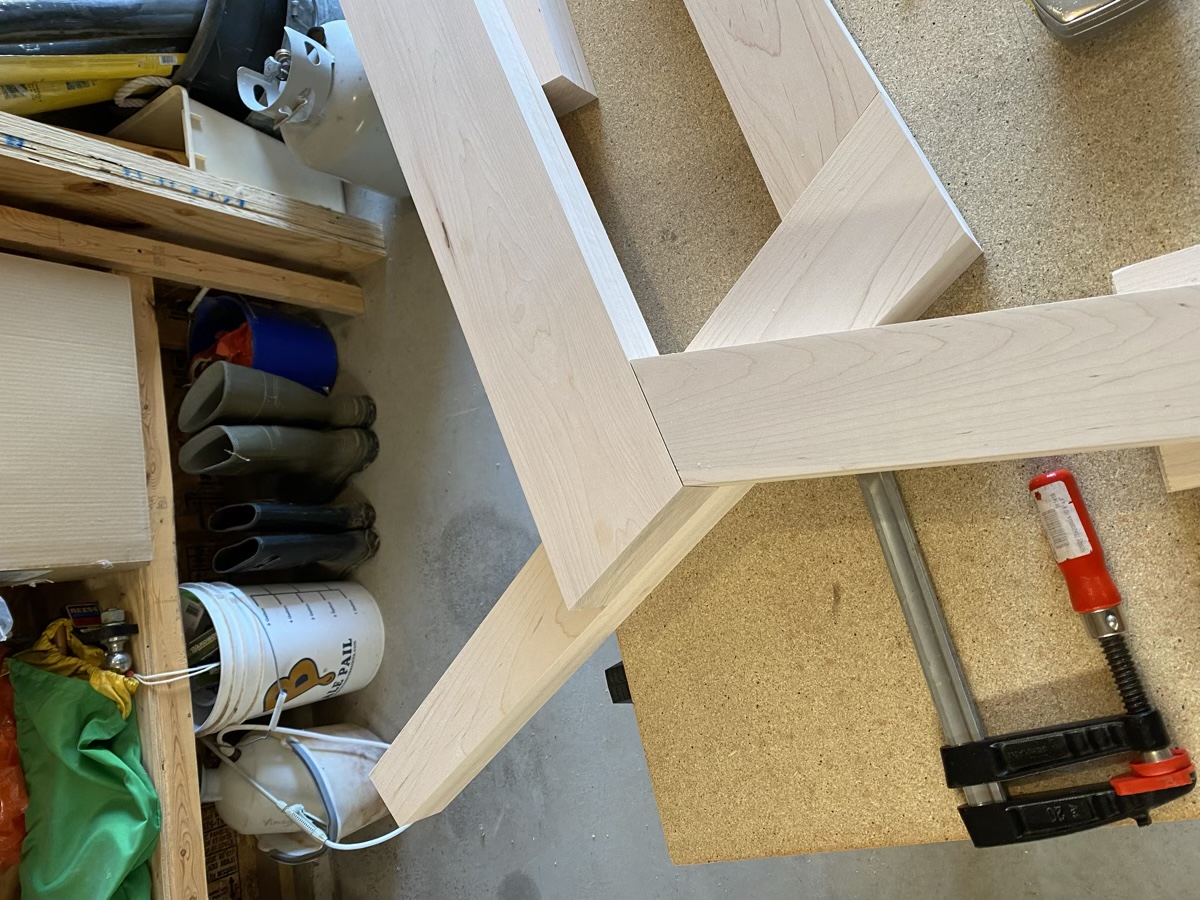
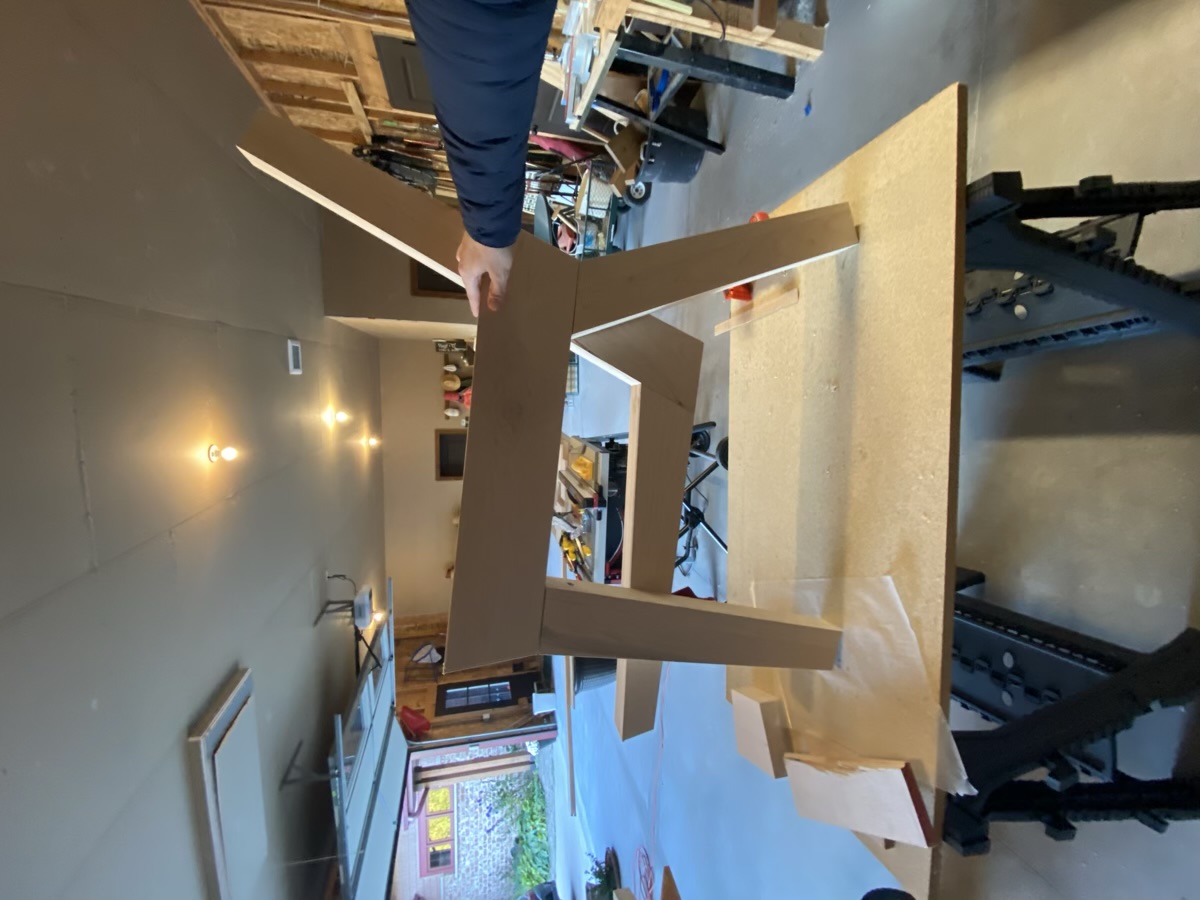
Here’s the tricky part. Where the L-piece meets the arm and legs is tricky; there are 3 pieces that need to join on a single point, and if I mess it up it affects the front leg.
Here’s a clearer view of arms and legs. I didn’t take pictures, but the legs are 1x6 laminates split diagonally similar to the previous 1x8s, and the arm is 1x6 laminates as well.
You can just barely see where I made a slight mistake here. The angles where the L-pieces meet are just a bit off, so they sort of curve out, causing the front leg to be 2mm off. It’s fixable, but boy is it frustrating to see in this photo.
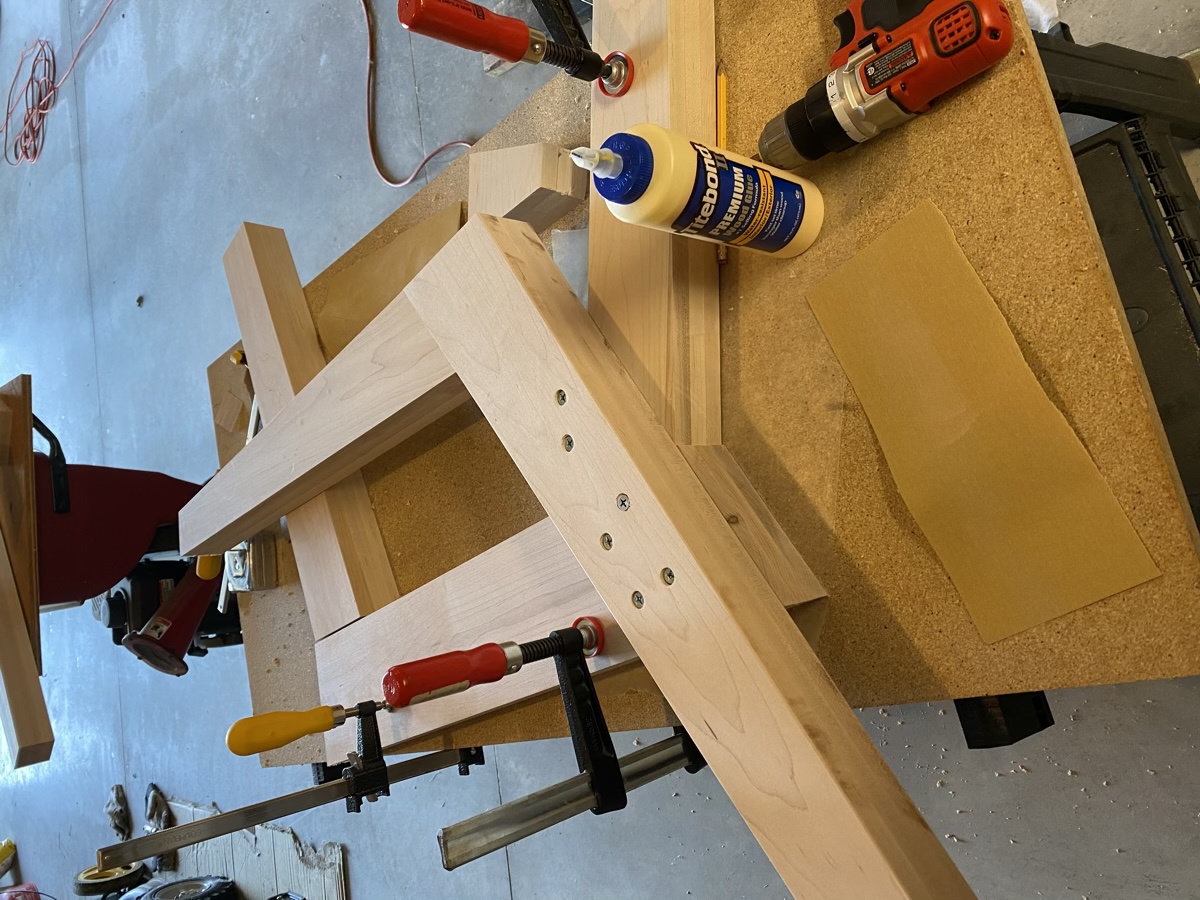
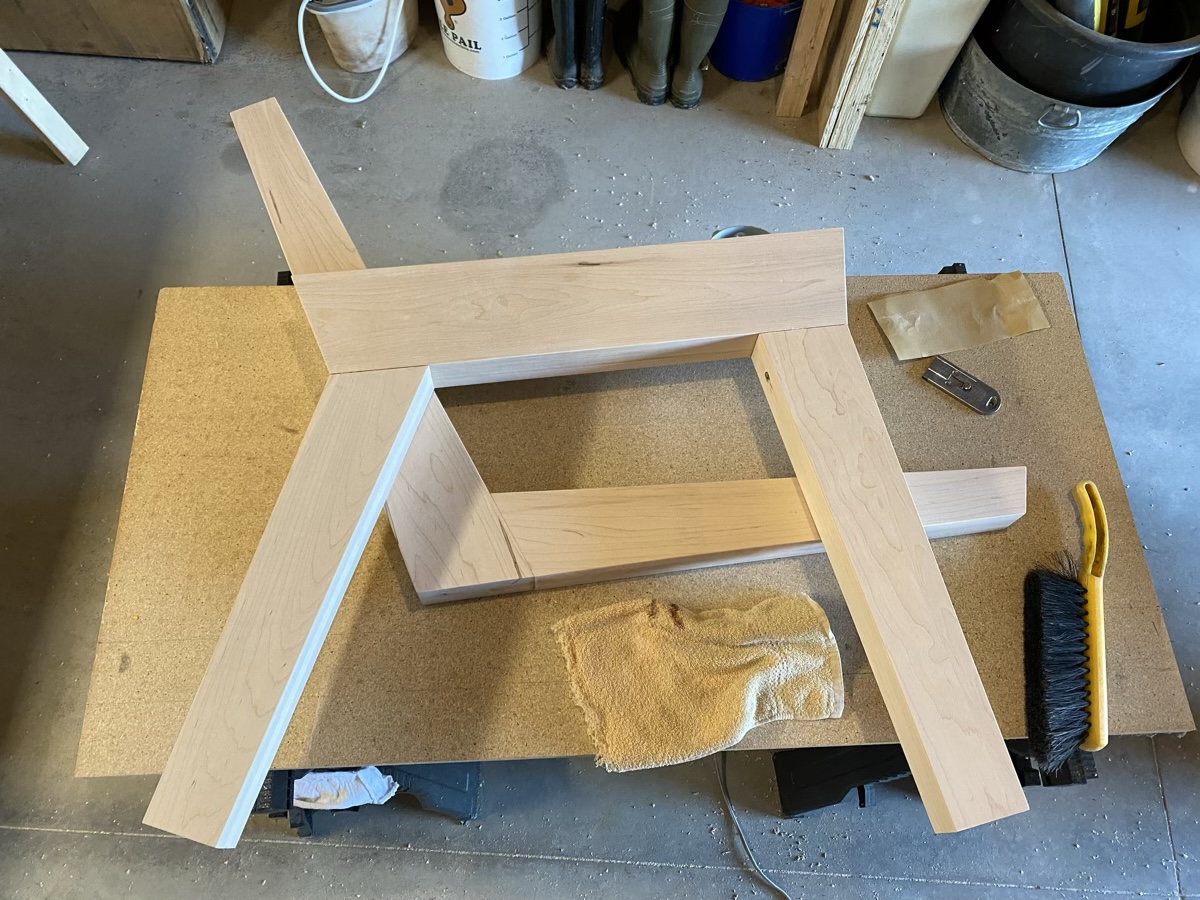
Going back-to-front with glue and 3" screws. Doing the screws on the inside so that they’re the least visible once complete. When the whole thing is together they’ll be on the inside of the back of the couch, and we’ll be able to putty them over.
From the other side it looks great!
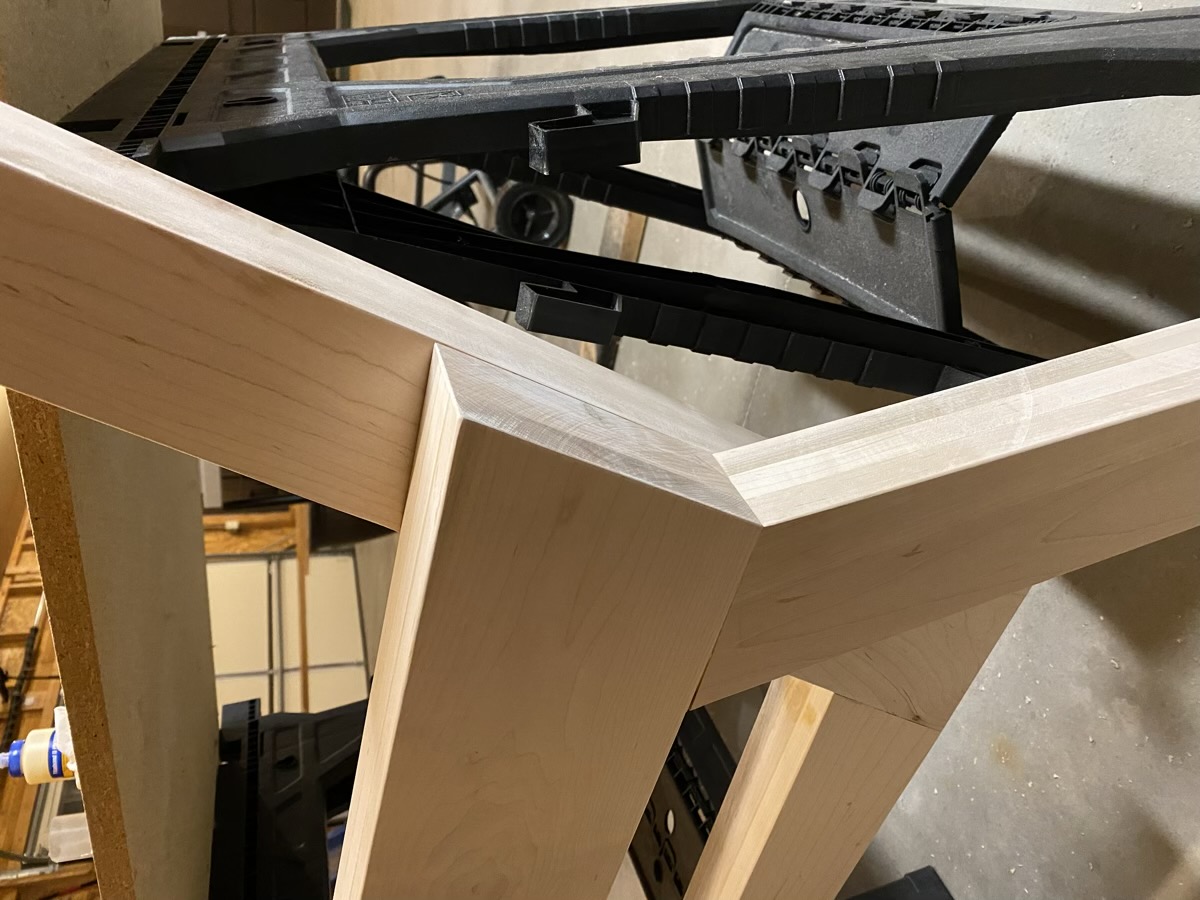
The joining here isn’t my best, but it’s also not my worst. Can fix some of this with wood putty, ideally.
And we’ve got one side done. I did one side at a time, so I can use it as a template for the other side.
Better view of one side done. You’ll notice I didn’t cut the bottoms of the legs yet. I want to be able to make sure they’re level, so I left that until I have bth sides done.
Both sides done. Also leveled off the bottom of the legs, so they’re flush with the floor.
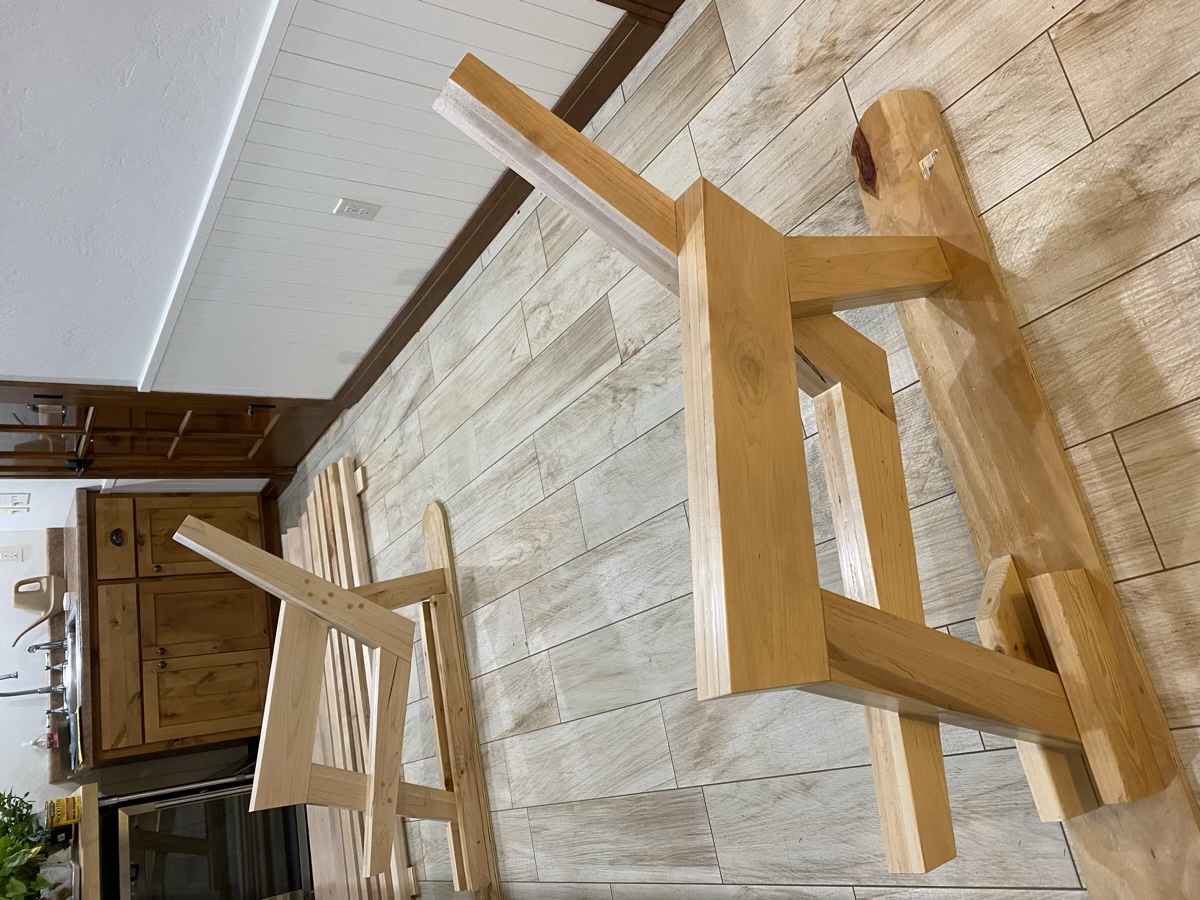
Using some scrap wood I made “skis” to old the sides while I polyurethane them. This leaves the bottom of the legs (feet, I guess) to be polyurethaned later.
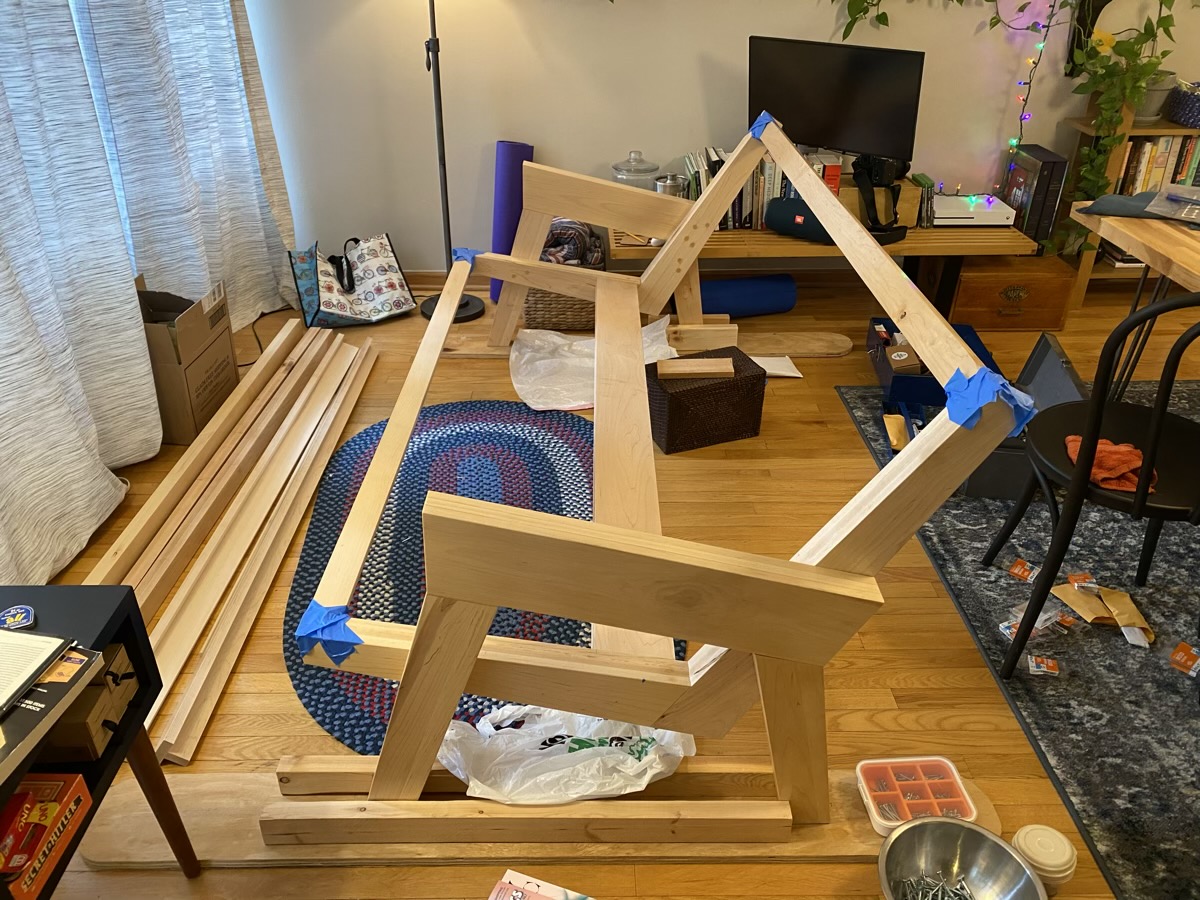
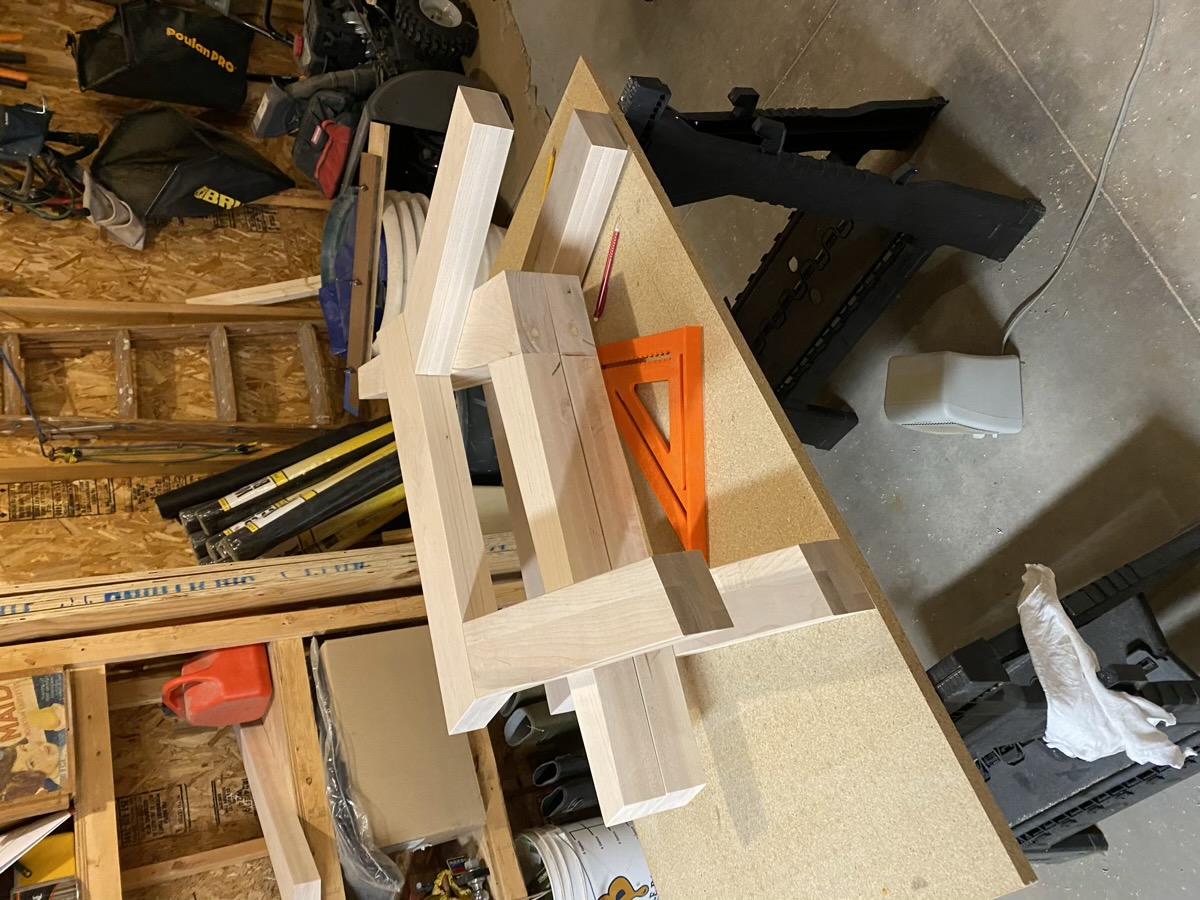
I didn’t take a lot of photos, but I also cut, laminated, and polyurethaned the cross-pieces. The blue tape is painters tape holding the back and bottom pieces while I attached the middle pieces. This helps me keep them aligned.
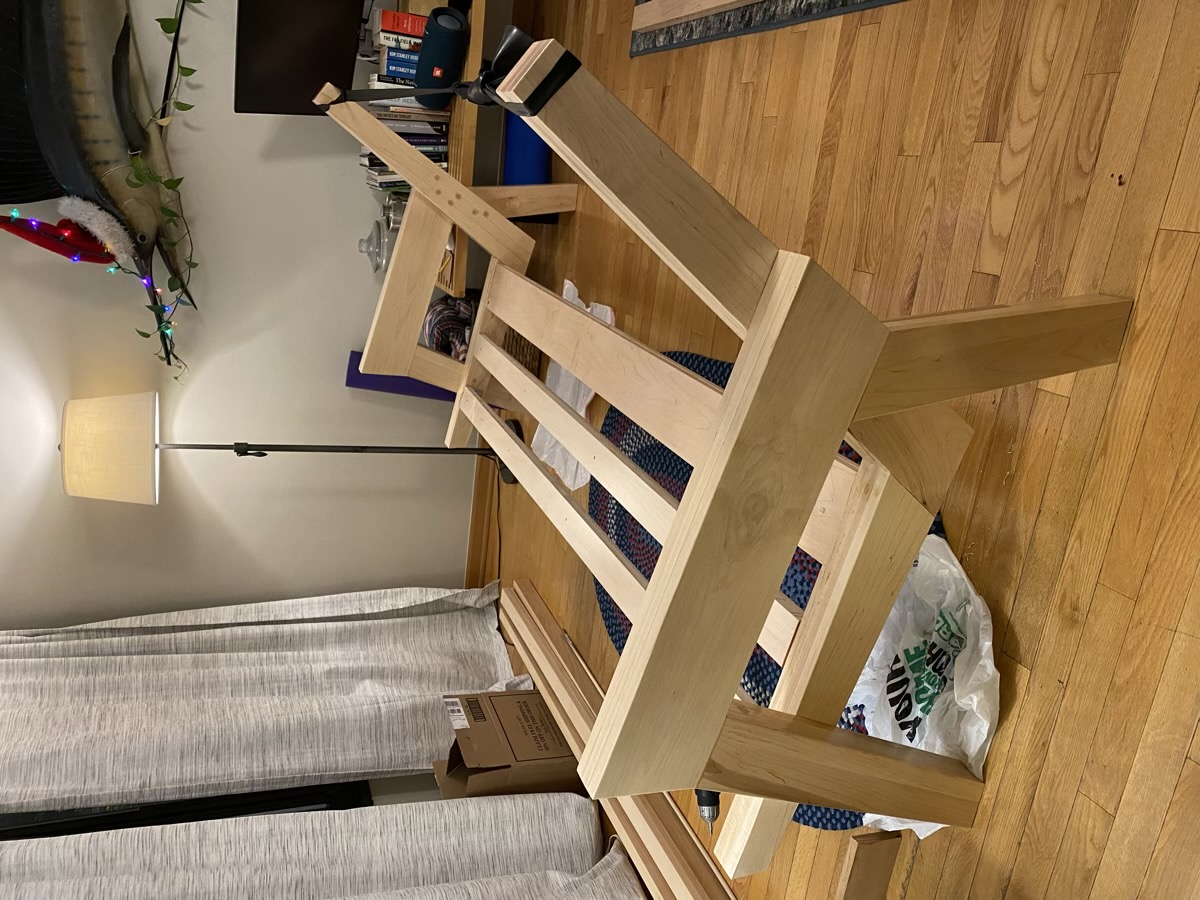
Bottom done. Using straps and elastic bands on the back to keep them the necessary width apart.
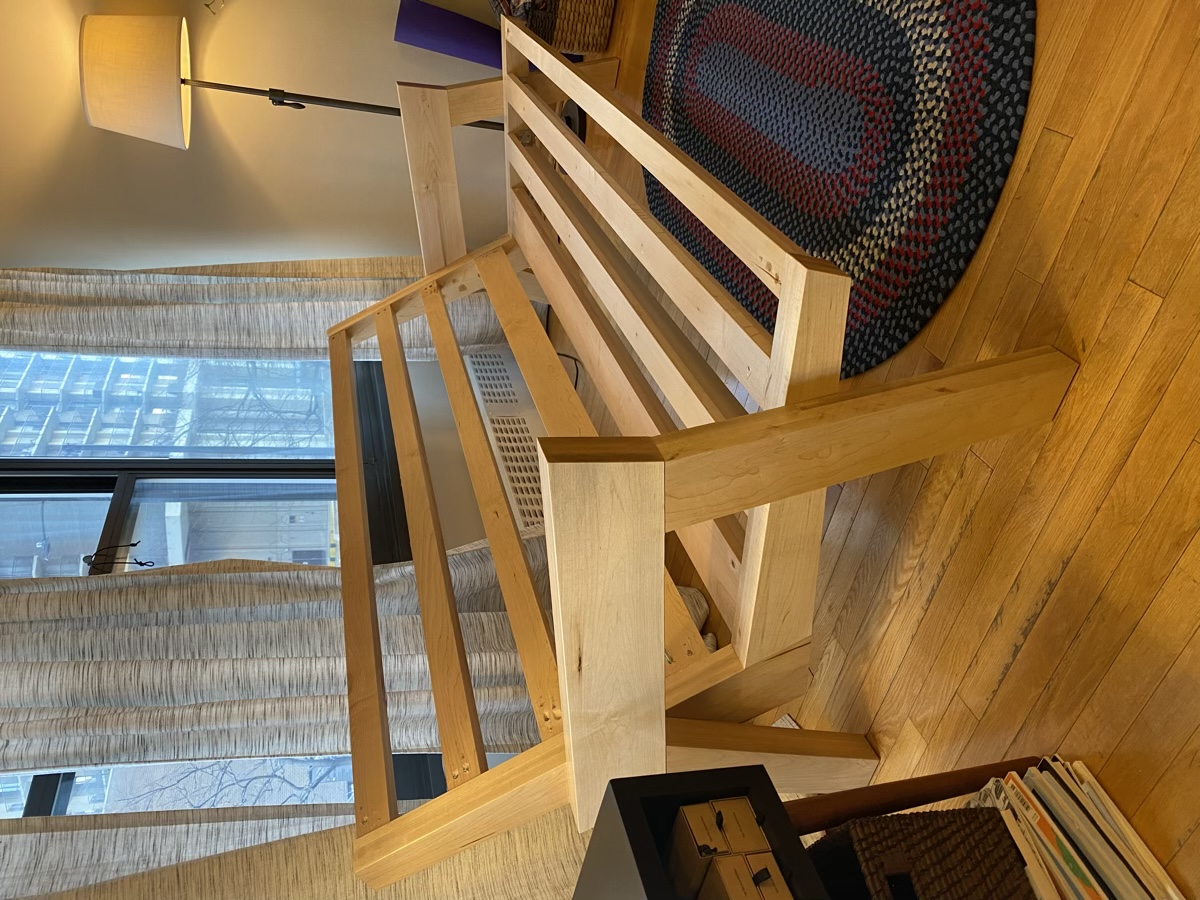
And we’re done! Mostly. Still need to order the cushions - I’m a better woodworker than tailor.