A while ago I wrote “Building a music making app with Swift (Part 1 of N)” and never really followed up. I’ve been chipping away at it every now and then when the mood strikes. So here’s a couple updates on it.
A work in progress.
Expanded idea with a better layout
Scope-creep is real. But honestly, for a project like this, it’s only a problem if I’m not having fun. So with that in mind, I wanted to expand this app a bit. There are a lot (A LOT) of sampling iOS apps, or sequencing apps on the Apple App Store, but I thought it would be neat to combine some of the best ideas from them to create this sort of app that lets you switch between sampling, sequencing, and instrument creation modes in a couple of simple screens.
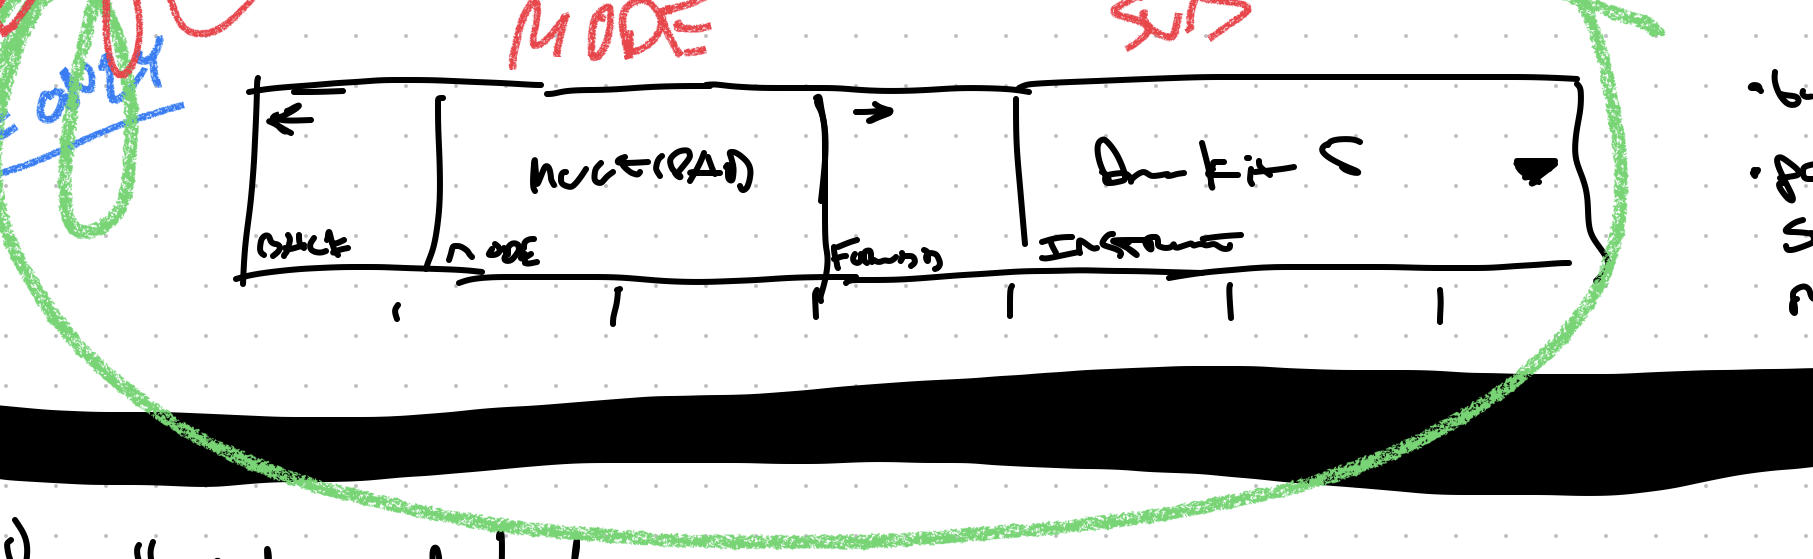
So the idea is there are modes, and a simple navigation to move between them. The modes are:
- Multipad: Assign samples and instruments to pads in a grid, and toggle between 4 different grids.
- Sequencer: Simple multitrack sequencer, referencing samples from the multipad.
- Designer: Design instruments and sounds by layering samples together.
To accommodate this, the information architecture needed a little bit of thought. Firstly, we’d need projects to hold everything. Pretty easy to grasp, and it seems like as good a “container” as anything for a workspace or idea.
But a grid of pads is a different thing from a sequencer or timeline view, so trying to fit everything into a 7x7 grid seemed kinda bad. (In the previous post I go a bit into why I’m using strict units for the screen, bit it’s largely inspired by physical sequencers like Polyend and Novation.)
To get around this, I’m planning on having only a single 1x12 row of cells for navigation and tools, which allows for the remaining 7x12 to be divided into a square or landscape layouts for grid or sequential tools.
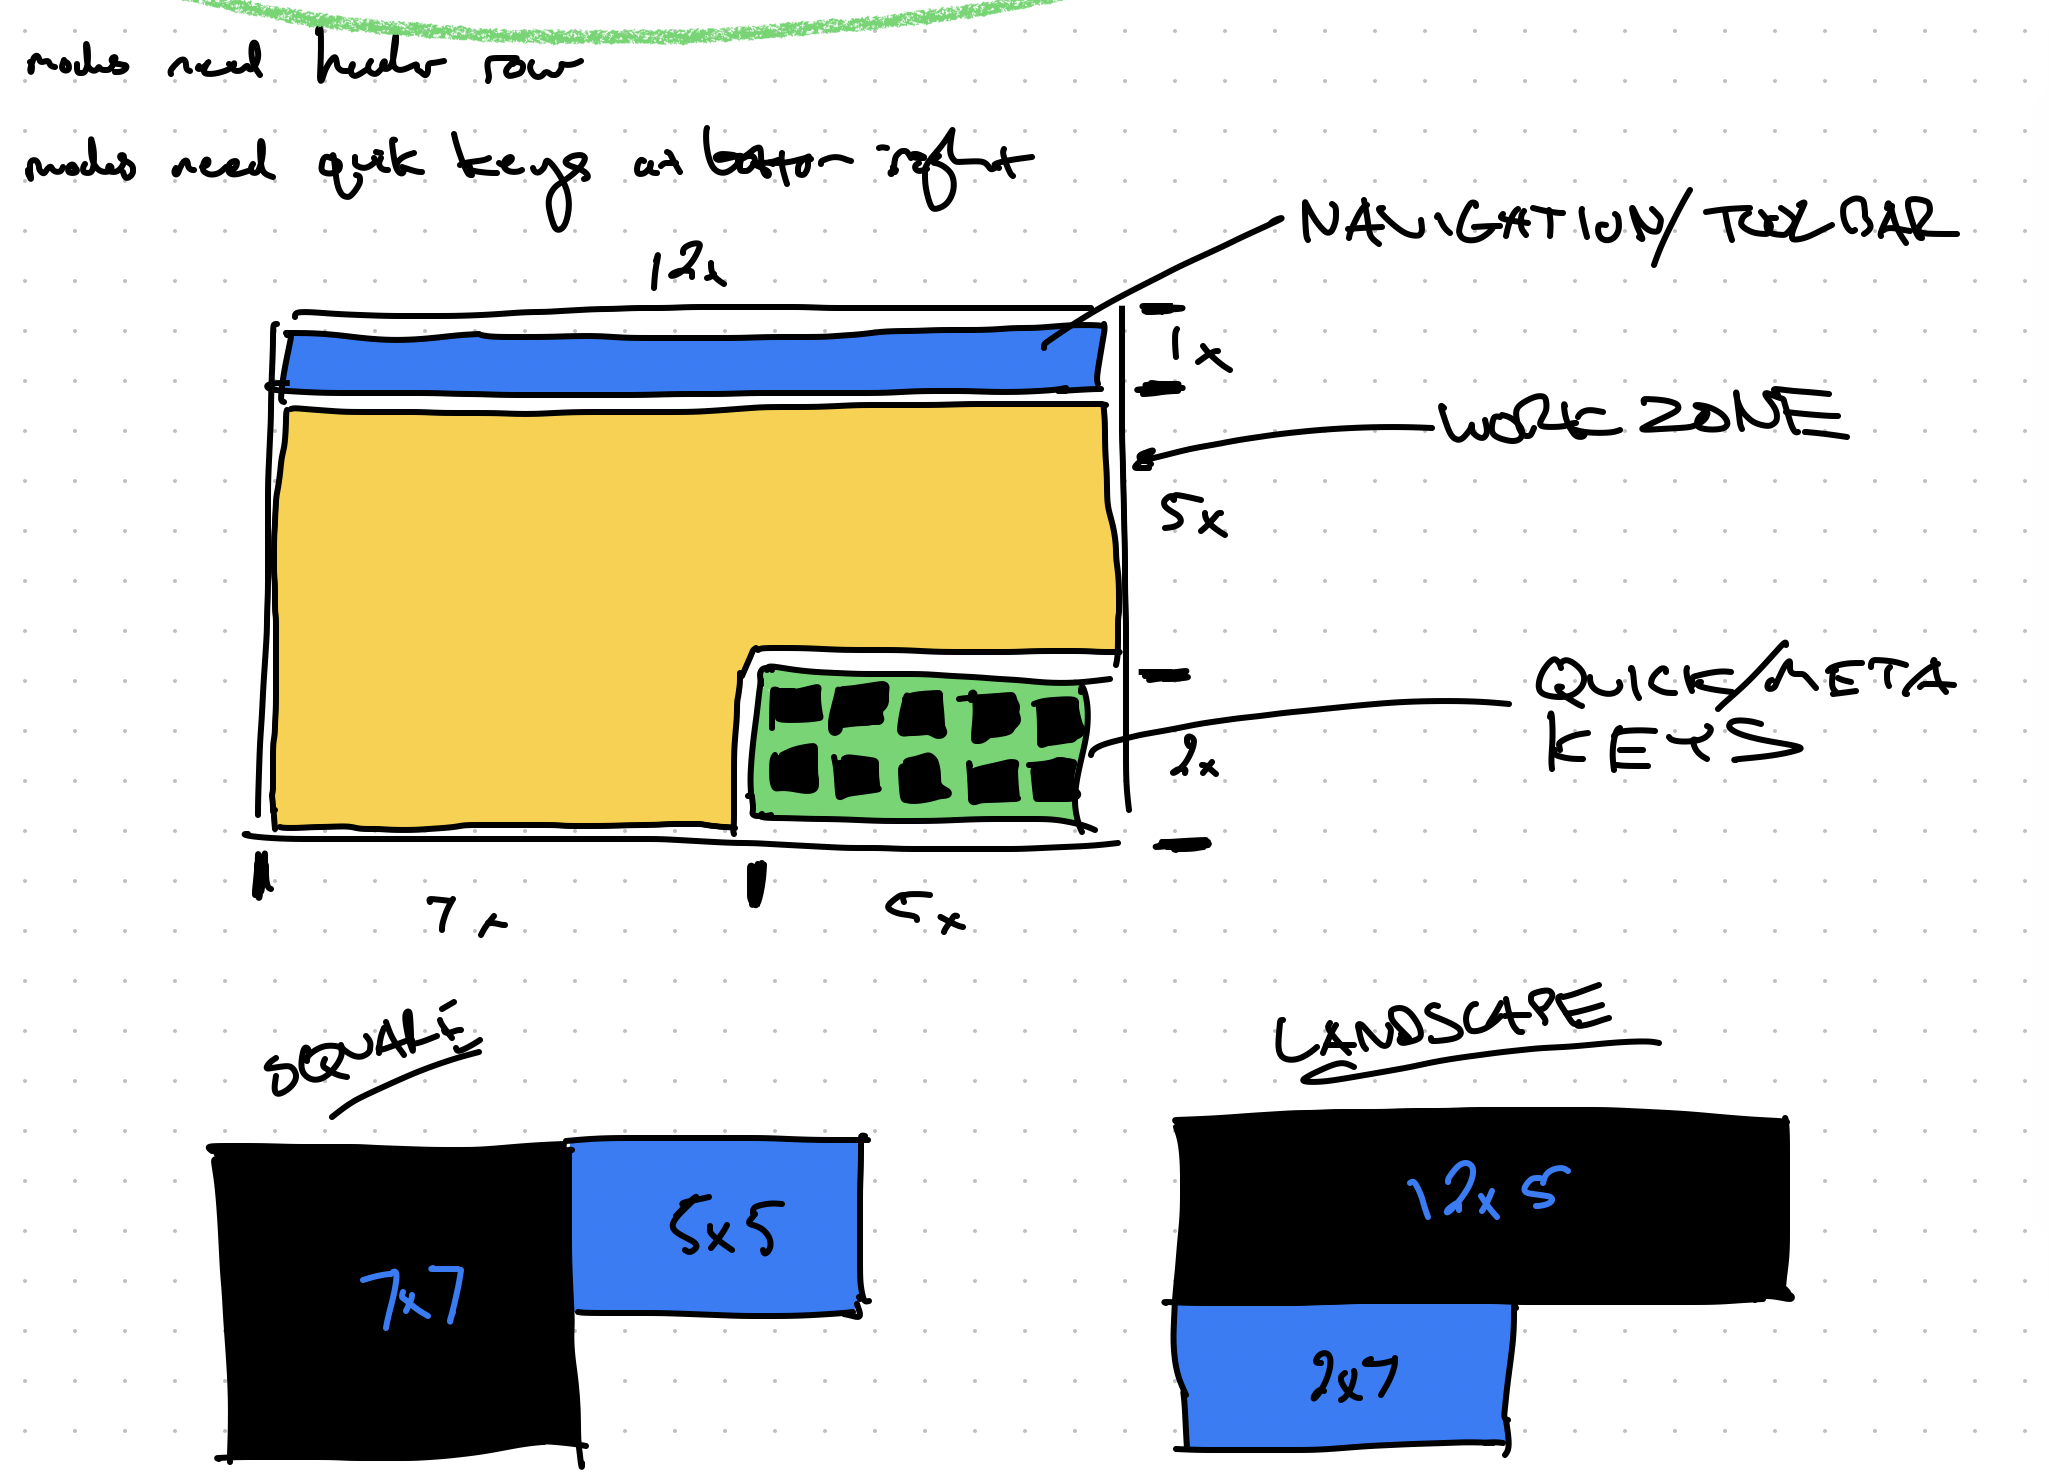
I later decided to move the navigation to the bottom to be closer to your hands as you use it.

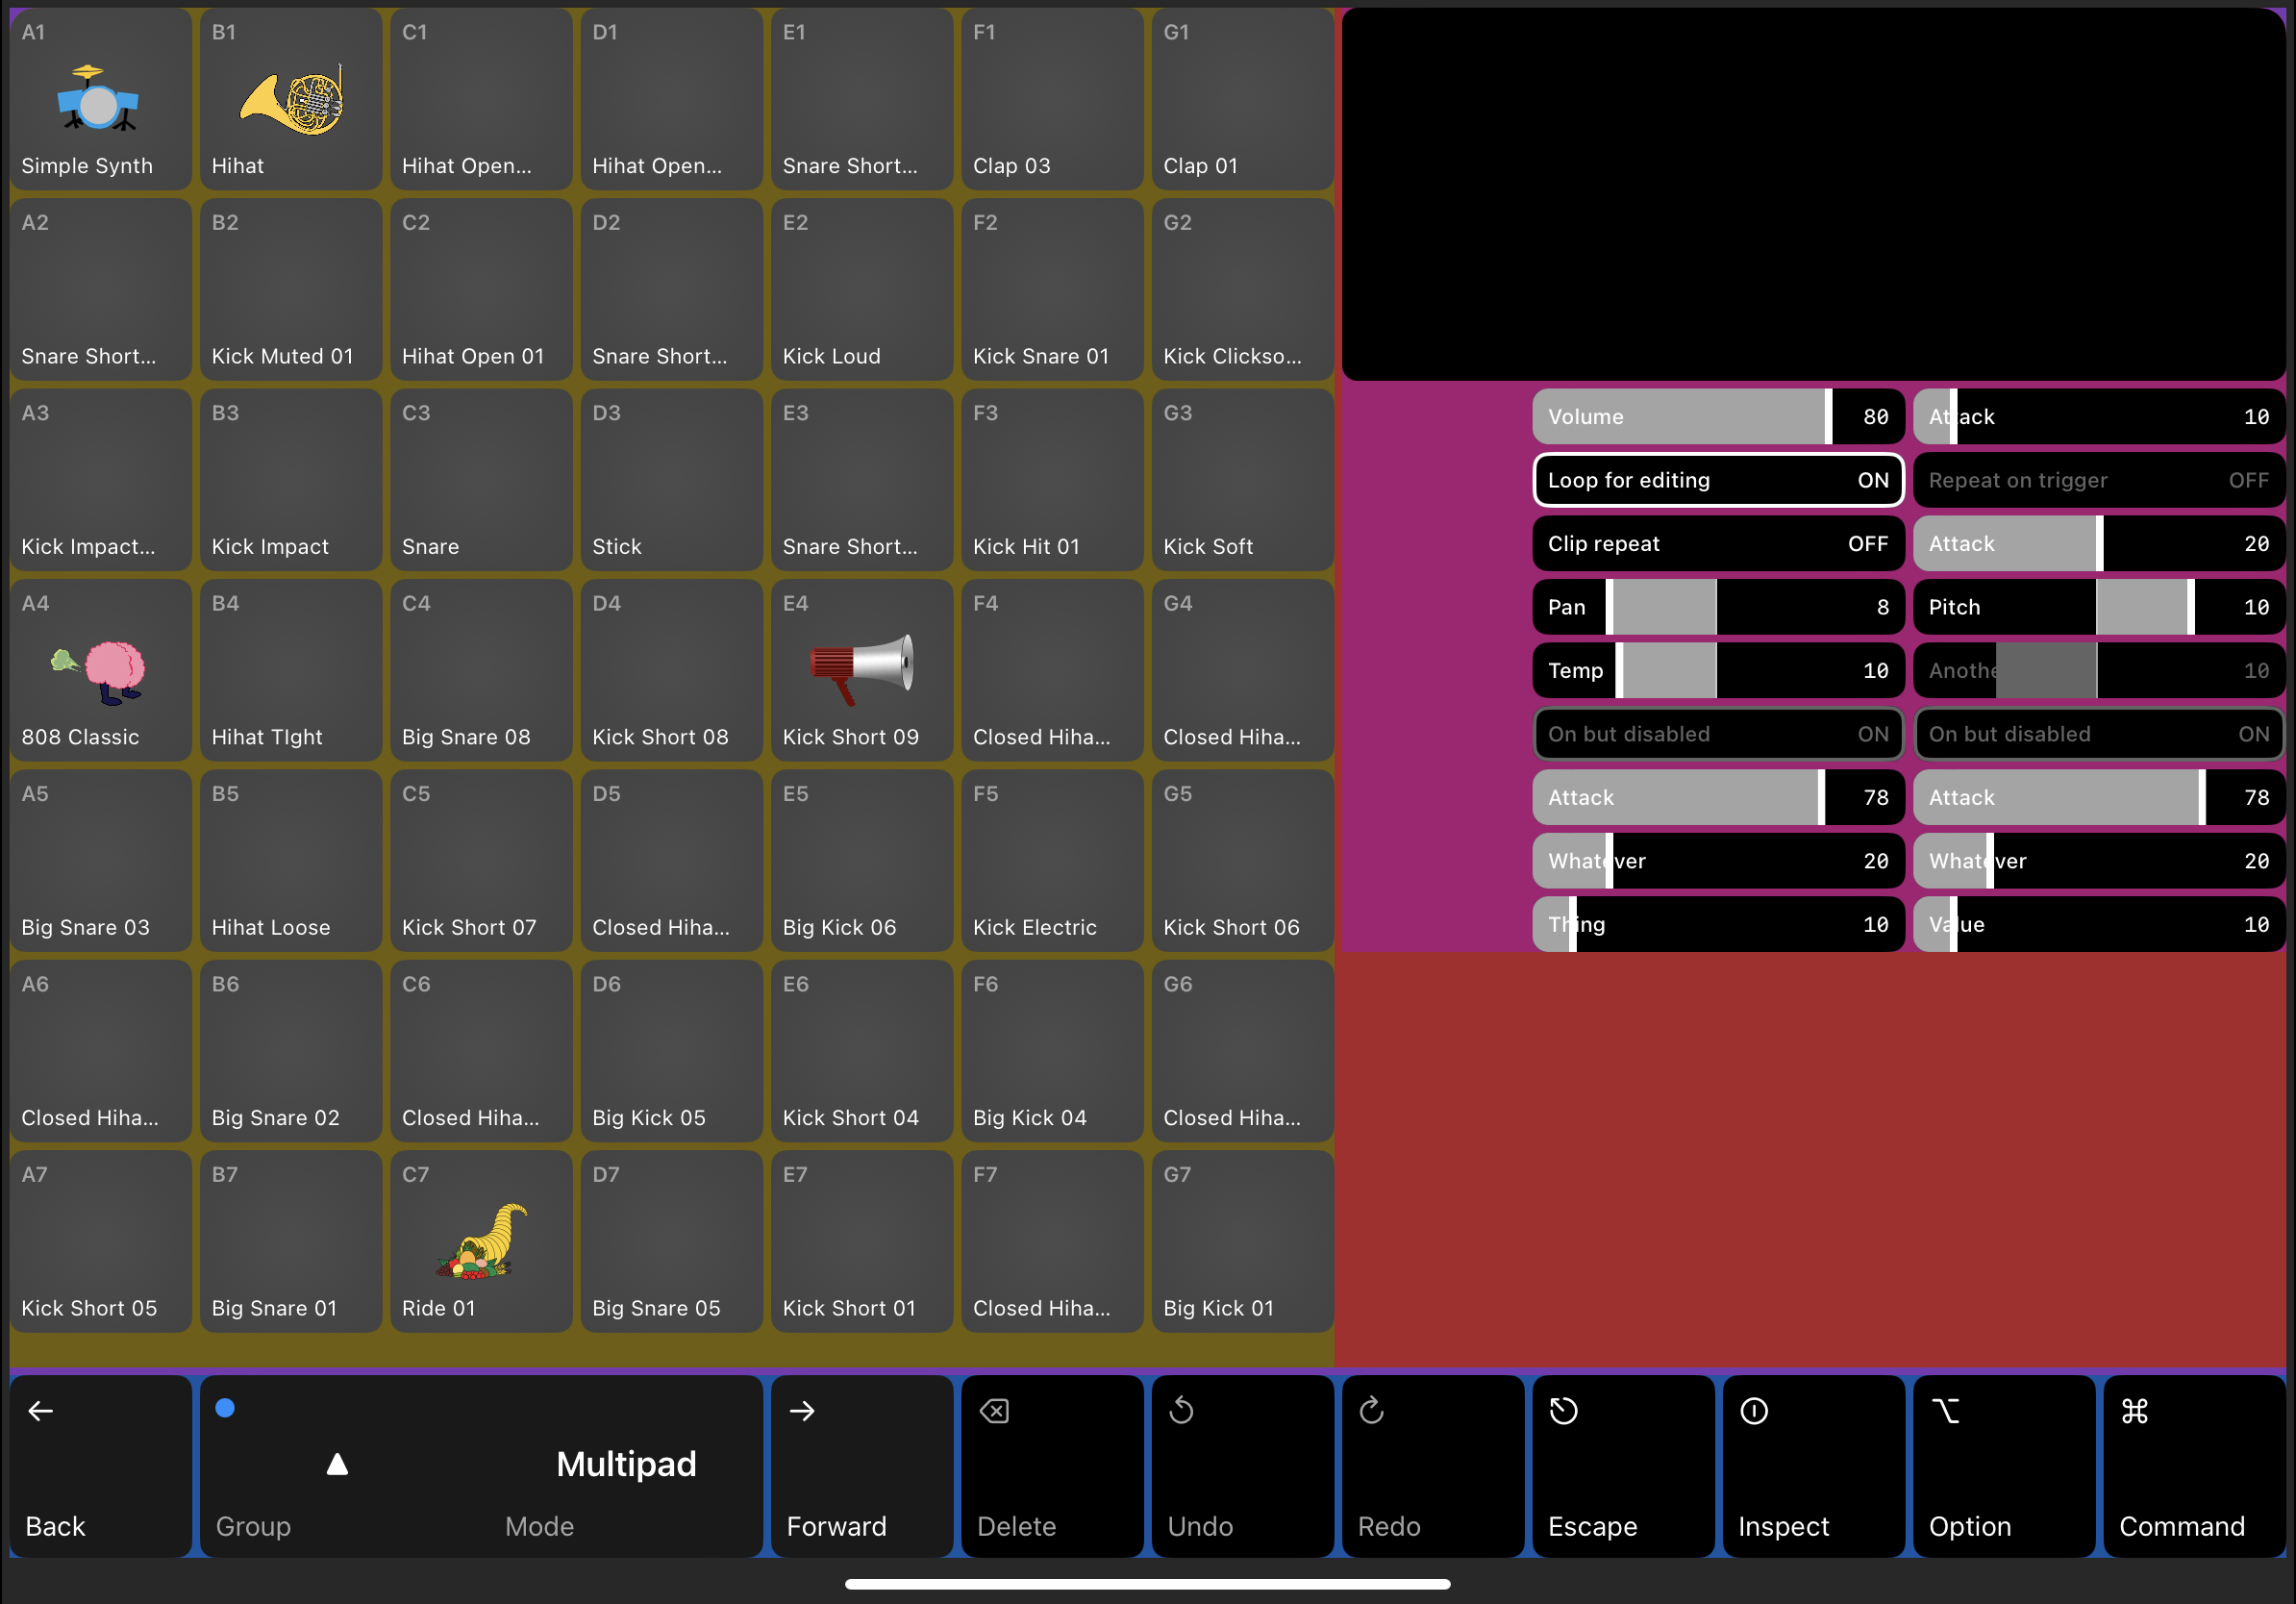
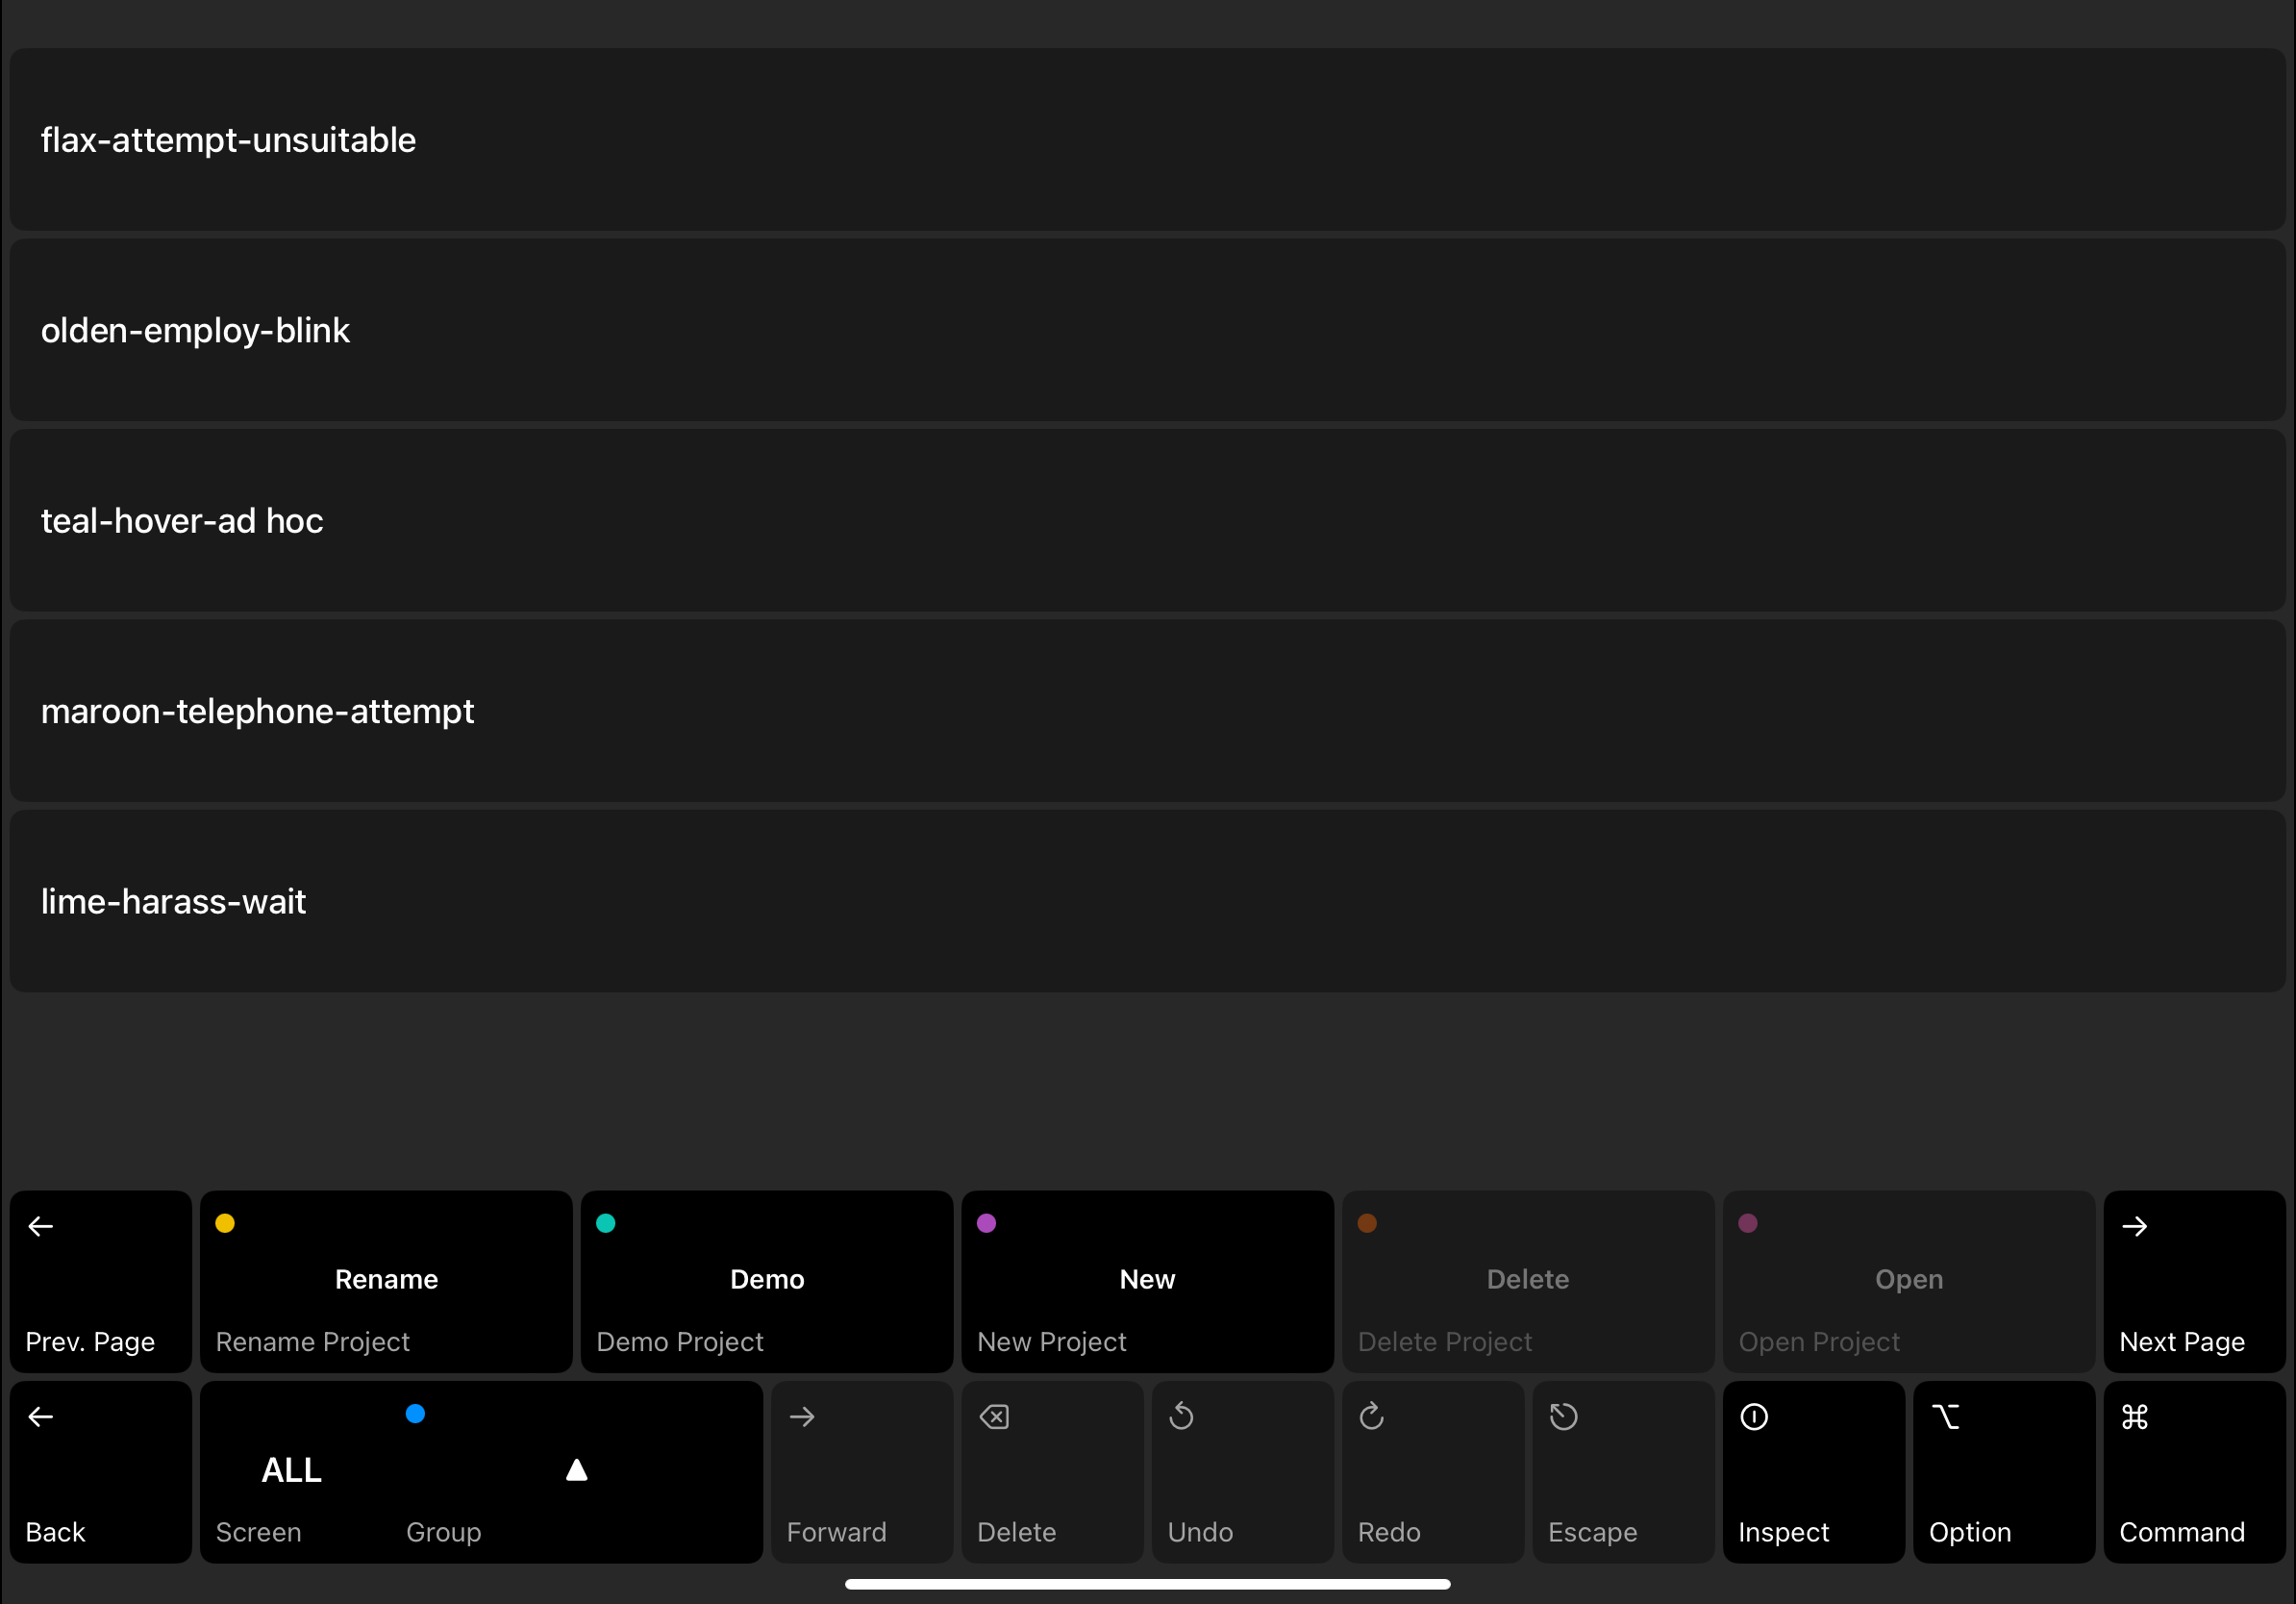
In this we’ve got some standard nav things that I find a surprising number of iOS and desktop DAWs don’t have, like forward/backwards and unified undo-redo. Apple’s Logic drives me nuts with the way it has one undo-stack for the main timeline of a composition, and a separate on for their instrument properties. I’m always undoing major parts of my project before I realize I need to go click the “Undo” button inside of the sequencer I’m working on.
I included Inspect here because I want ways for the user to get more
info on a pad for instance, or get info on a property.
The Option and Command share the purpose of doubling-up the
commands on the navigation bar, and I plan on using these to let the user hold
them down to alternate the functionality of any other cell on the nav bar.
The Screen is essentially the “Mode” (Multipad, Sequencer, Designer), and
the Group is just a rotation of 4 grids for editing. When in Sequencer or
Designer mode, the group cell(s) will server other purposes.
Getting the units right for this entire layout was a challenge for sure. But toggling bg colors easy way to debug layouts. Makes me miss CSS and the Chrome dev tools.
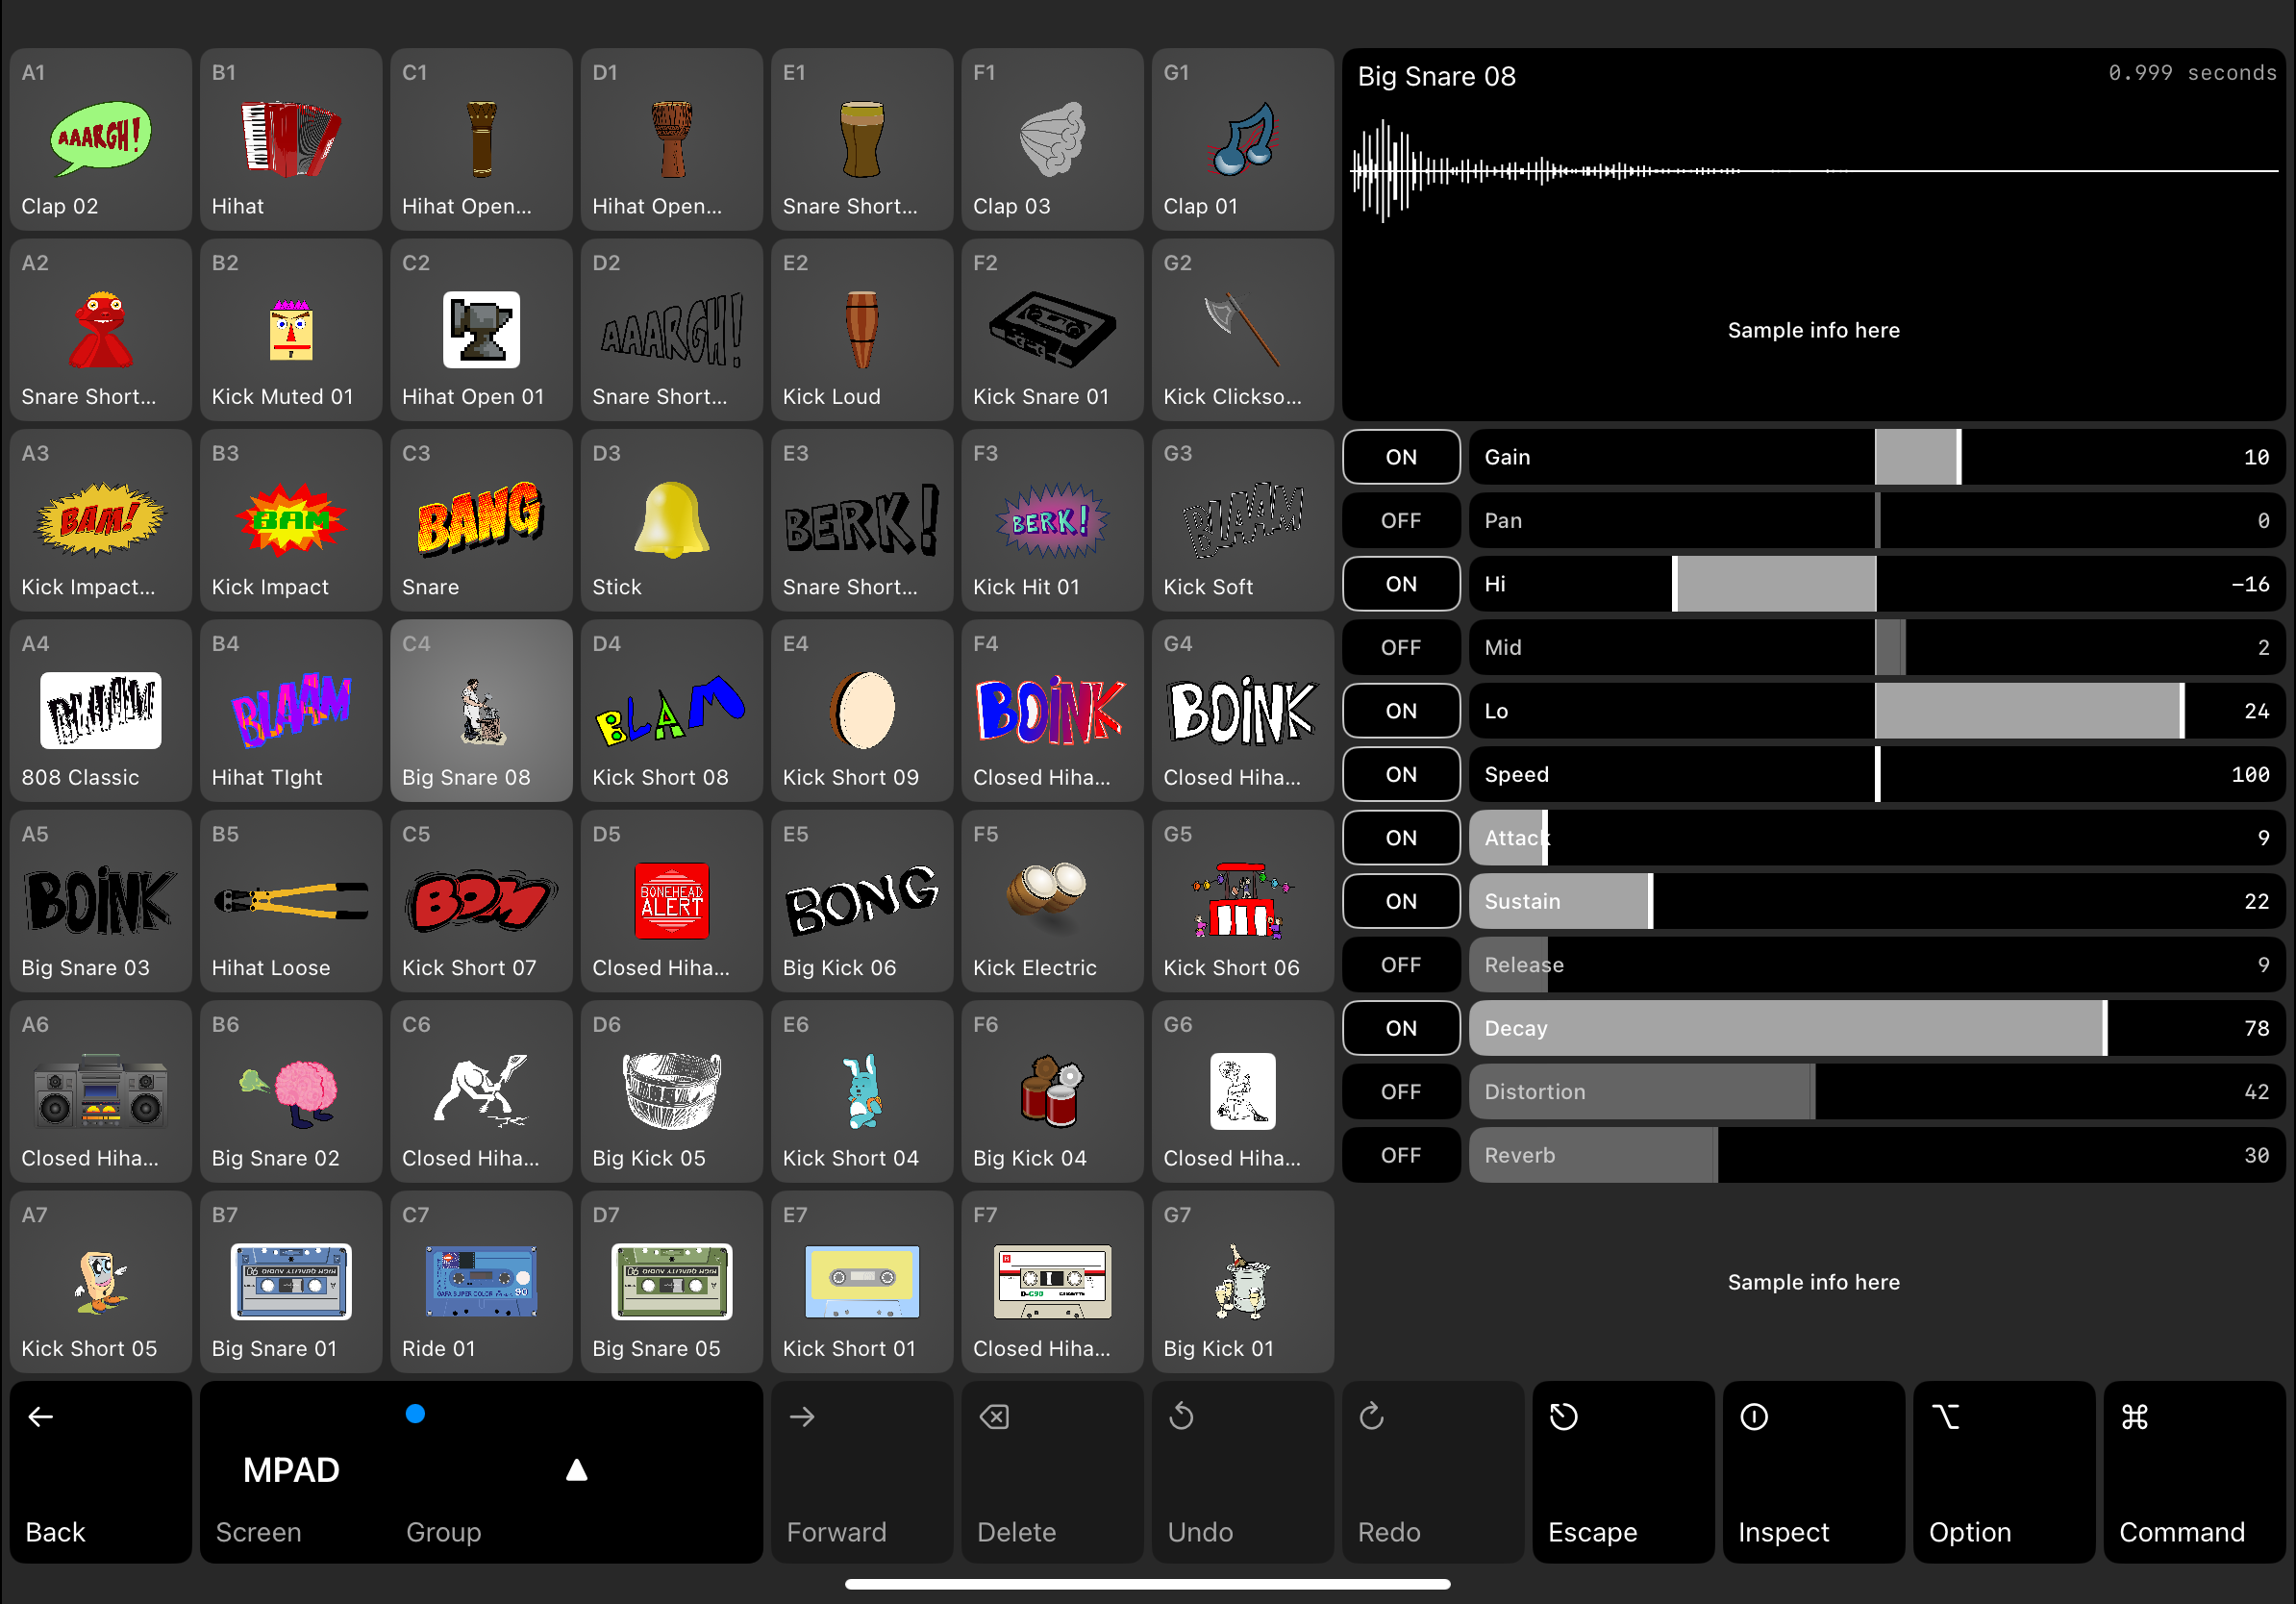
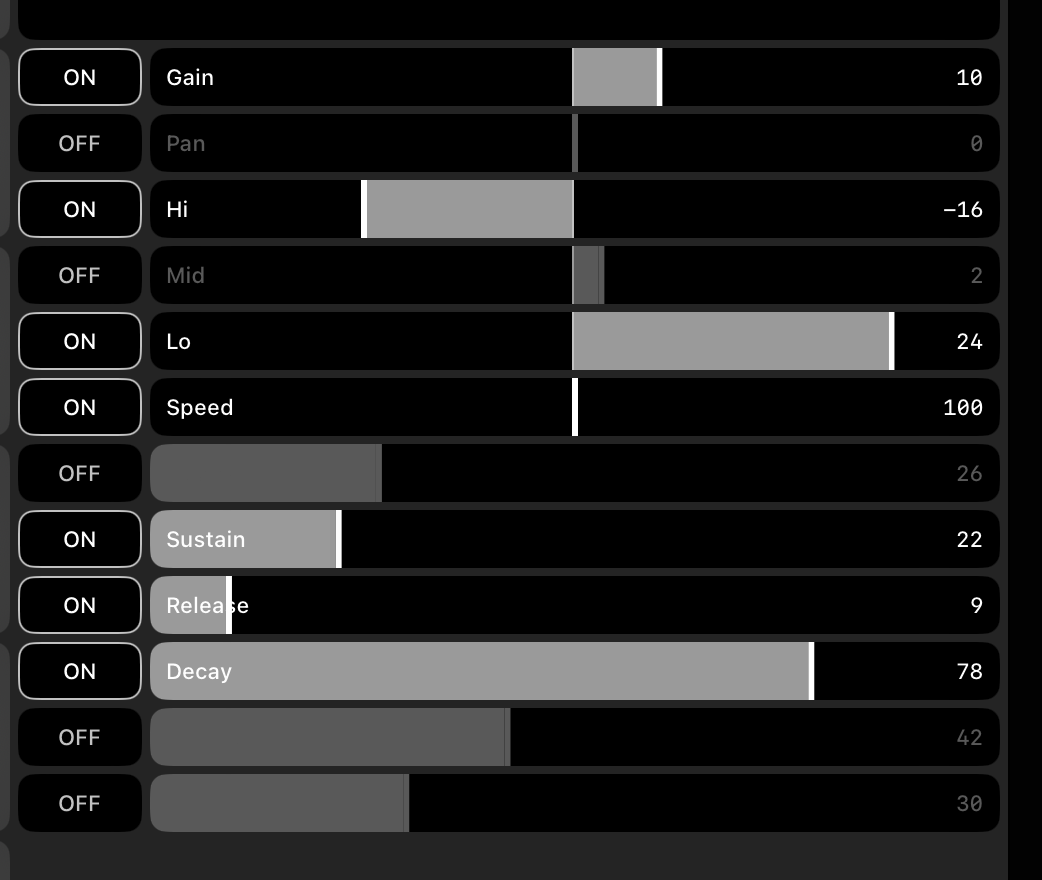
Simplifying sample editable properties
If I’m going to push some of the finer points of sample editing like clipping and tuning inside of the “Designer” screen/mode, then our pad properties can become much more straight forward.
Projects
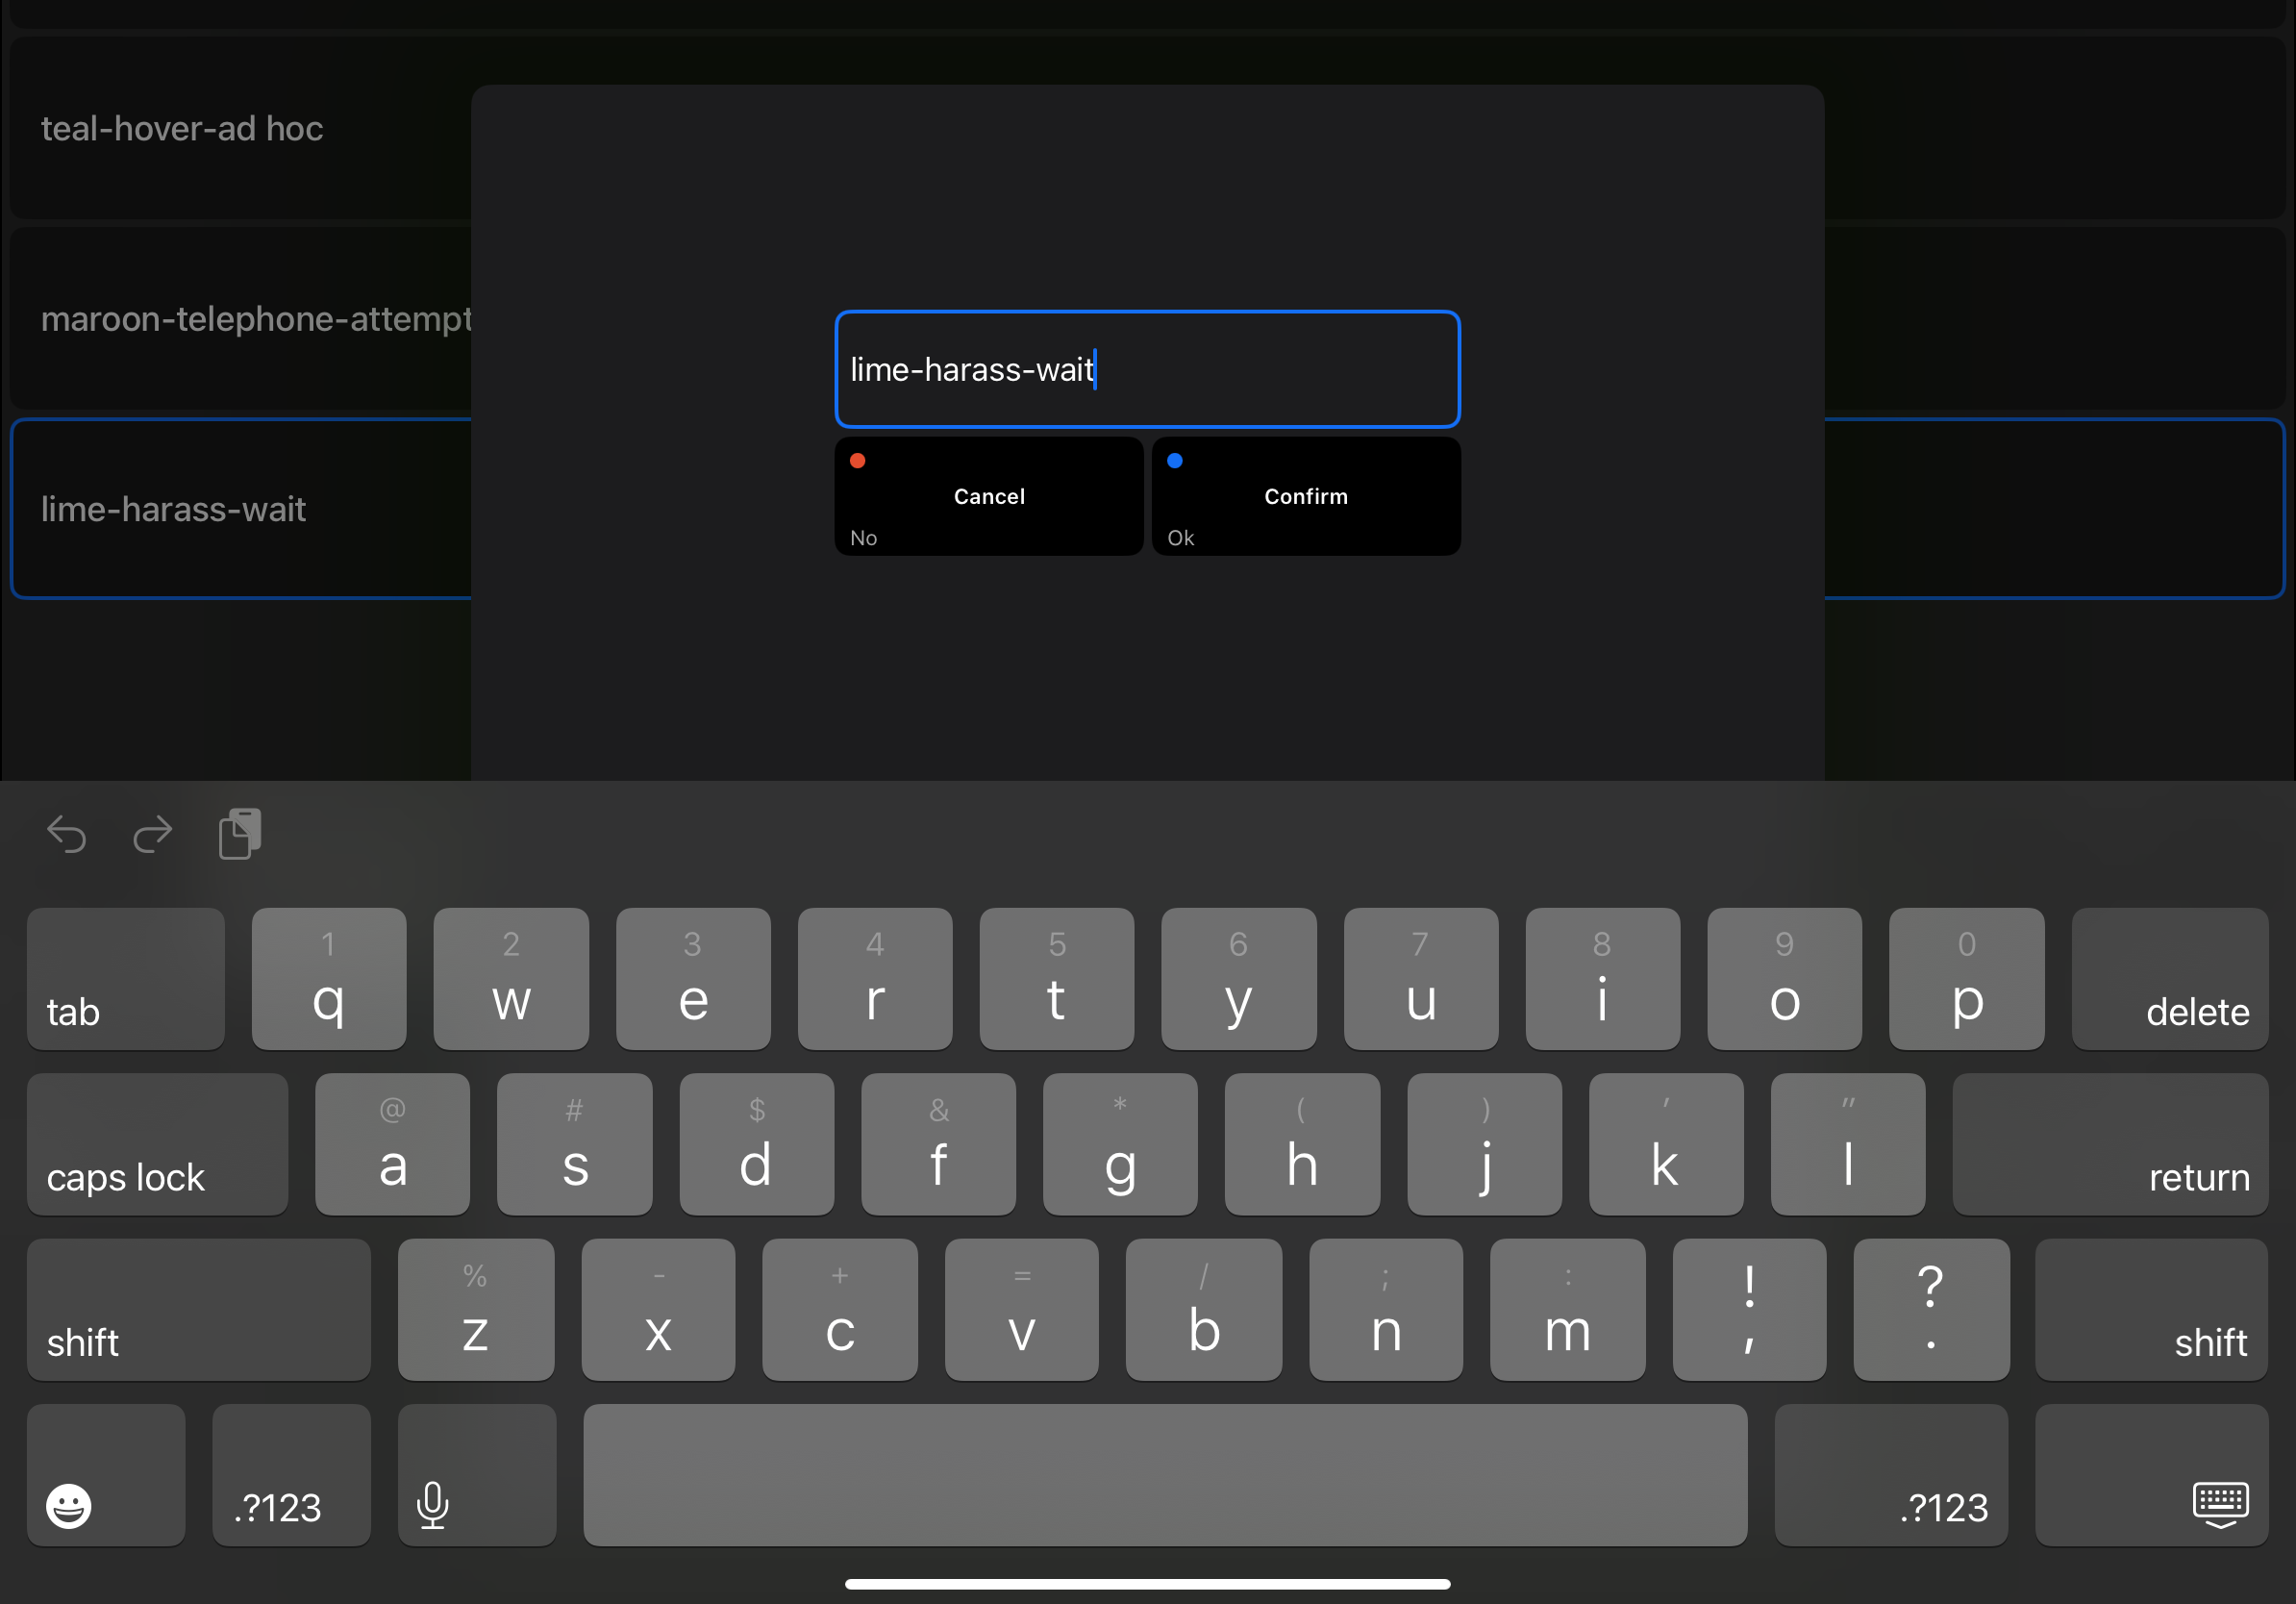
Fairly straight forward, not much to write about here. Just auto-creating them with a random name from a list of strings.
Clip Art
I had a lot of fun browsing openclipart.org and pulled some 700 clip art SVGs, and loaded them into a bundle.
The thing is, rendering SVGs in Swift is enormously slow if you want them to look good, and some of the SVGs have an enormous amount of detail. (Like, whoever made some of these definitely took an image, imported it into Adobe Illustrator, clicked “Live Paint”, then exported a 20MB SVG and uploaded it.)
This is where librsvg and the CLI rsvg-convert come in handy.
find clipart -type f -name "*.svg" -print0 |
    while IFS= read -r -d '' file; do
        filename=$(basename $file)
        filename="${filename%.*}"
        echo $filename
        rsvg-convert -h 1024 $file > clipart-pngs/$filename.png
    done
Transforming these to 1024x1024 PNGs gives us great detail, and really good render performance, so we’re not waiting 40+ seconds for our app to our little clip art images for the samples.

There’s something about hokey clip art that’s a thousand times better than little overused emojis.